No-Sew Felt Projects: Which Glue to Use and 5 Things to Make
Glue-only felt crafting explained: which adhesives hold felt, how to apply them without stiff shiny patches, and five small projects that never need a needle.
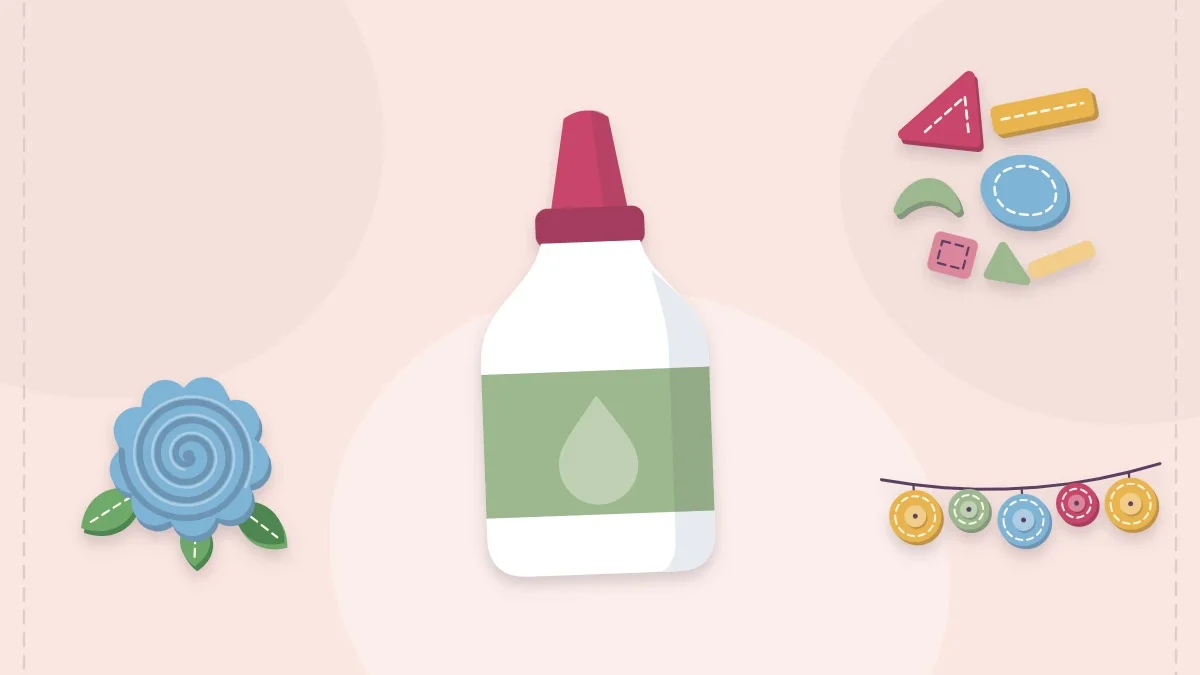
Project kit
Materials
- Felt sheets in 3-4 colors
- Tacky craft glue or fabric glue
- Low-temperature glue gun (for the rolled rose)
- Sharp fabric scissors
- Toothpicks, pins and baking parchment
- Cord or twine and narrow ribbon
- Thin wooden dowel
- Plain hair clip
- Ruler, pencil and paper
Not every felt project needs a needle. Because felt does not fray, a cut edge is already finished, and a thin layer of the right glue is enough to hold two pieces together for years of light use. No-sew felt projects suit anyone who dislikes threading needles, anyone crafting with a group, and anyone who simply wants a decoration finished before the afternoon is over.
The catch is that felt is absorbent, so too much glue soaks through and dries as a hard, shiny patch. Choosing the right adhesive and applying it sparingly solves almost every problem.
Which Glues Work on Felt
Three adhesives cover nearly all glue-only felt work. Ordinary school glue and glue sticks are too thin or too weak for anything beyond a temporary hold.
| Glue | Good points | Drawbacks | Best for |
|---|---|---|---|
| Tacky craft glue | Thick, so it sits on the surface; dries clear; time to reposition | Needs pressing and drying time; stiffens felt if over-applied | Flat layers, applique shapes, tags, banners |
| Fabric glue | Made for textiles; stays more flexible when dry | Often thinner, so it soaks in faster; slower to grab | Pieces that bend, such as bookmarks and bows |
| Hot glue | Bonds in seconds; holds rolled and three-dimensional shapes | Can burn skin; leaves ridges and fine strings; no repositioning | Rolled flowers, attaching clips and cord |
Watch out
Hot glue and the nozzle of a glue gun cause burns. Press pieces together with the tip of a craft stick rather than a fingertip, and keep glue guns out of reach of children. A low-temperature gun is the gentler choice for felt.

How to Glue Felt Cleanly
- Cut first, glue last. Finish every piece and lay the whole design out dry before opening the glue. Clean shapes matter even more without stitches to distract the eye, so review how to cut felt if edges look fuzzy.
- Apply glue to the smaller piece. Turn the top shape over and add glue to its back, never to the background.
- Use dots and thin lines. Place small dots about 1/8 in (3 mm) inside the edge and one in the center. Spread them flat with a toothpick or a scrap of card.
- Press, do not rub. Set the piece in place and press straight down for a few seconds. Rubbing pushes glue out past the edge.
- Weight it while it dries. Cover the work with a sheet of baking parchment and a heavy book. Tacky glue usually needs at least an hour to set and longer to cure fully.
- Clean up while wet. Lift any squeeze-out with the point of a pin. Wiping smears glue into the fibers.
Tip
Test the glue on two scraps of the same felt before starting. Thin acrylic craft felt shows soak-through far sooner than dense wool-blend felt, and the test shows how much is too much.
What You Need
- Felt sheets, 9 x 12 in (23 x 30 cm), in three or four colors
- Sharp fabric scissors
- Tacky craft glue or fabric glue, plus a low-temperature glue gun for the rose
- Toothpicks, pins and baking parchment
- Ruler, pencil and paper for templates
- Cord or twine, narrow ribbon, a thin wooden dowel and a plain hair clip
Five No-Sew Felt Projects to Try
1. Circle garland
Trace a glass about 2 in (5 cm) across onto paper and use it to cut 24 circles. Lay a length of cord on the table, put glue on one circle, set the cord across its center and press a second circle on top so the cord is sandwiched. Leave about 2 in (5 cm) between pairs. Twelve pairs fill roughly 4 ft (1.2 m) of cord. The felt garland tutorial covers other shapes and how to plan a longer length.
2. Pennant wall banner
Draw a rectangle 6 x 9 in (15 x 23 cm) and mark a point 2 in (5 cm) up from the center of the bottom edge. Cut from each bottom corner to that point to make a notched pennant. Fold the top 1 in (2.5 cm) to the back over a dowel and glue only the edge of the fold, leaving a channel. Decorate the front with glued shapes such as a moon, stars or leaves. A layered version with more detail is in the guide to felt wall decor.
3. Rolled rose
Cut a circle 4 in (10 cm) across, then cut it into a spiral about 1/2 in (1.3 cm) wide, working from the outside to a small round tab in the middle. Starting at the outer end, roll the strip tightly on itself, keeping the bottom edge level. Let the roll relax a little, then glue the center tab under the base. Hot glue holds this shape best. Sizes and a wavy-edge variation are covered under rolled felt roses.
4. Layered gift tag
Cut a rectangle 2 x 3 1/2 in (5 x 9 cm) and snip the two top corners off at an angle. Fold a scrap of paper in half, draw half a heart against the fold and cut it out for a symmetrical template about 1 1/4 in (3 cm) wide. Glue the felt heart to the tag, cut a small slit near the top and thread a ribbon through.
5. Bow hair clip
Cut one rectangle 2 x 5 in (5 x 13 cm) and one strip 1/2 x 2 in (1.3 x 5 cm). Pinch the center of the rectangle into three pleats, add a dot of glue inside the folds and hold until it grips. Wrap the strip around the pinch, glue the ends at the back, then glue the bow to the top of a hair clip.

When Glue Is Not Enough
Glue is reliable for decorations, cards, tags and anything that hangs or sits on a shelf. It is less dependable for seams that carry weight or get pulled, such as the sides of a pouch, a keychain or anything stuffed. Those joins are better stitched. Spot clean glued felt with a barely damp cloth instead of soaking it.
Glued pieces with clips, beads or other small parts are a choking hazard and are not for children under 3.
Fixing Common Glue Problems
- Shiny hard patch on the front: too much glue soaked through. Use less next time, and cover the mark with an added shape.
- Edges lifting: the glue dots were too far from the edge. Slide a little glue under the lifted part with a toothpick and weight it again.
- Hot glue strings: wait until they are fully cool, then pull them away gently or snip them close.
- Piece set down crooked: with tacky glue, lift and reposition straight away. With hot glue, it is usually cleaner to cut a new piece.
Frequently asked questions
What is the best glue for felt?
Thick tacky craft glue is the most forgiving for flat layers because it sits on the surface and dries clear. Fabric glue stays more flexible, and hot glue is best for rolled or three-dimensional shapes.
Why does glue show through my felt?
Felt is absorbent, so a heavy layer of glue soaks to the front and dries hard and shiny. Use small dots spread thin, and apply them to the back of the smaller piece.
Can glued felt projects be washed?
It is safer not to. Spot clean glued pieces with a barely damp cloth, since soaking can loosen the bond and distort the felt.
Is hot glue safe to use on acrylic craft felt?
Yes, hot glue is commonly used on craft felt, and a low-temperature gun is the gentler option. The main risk is burning skin, so press pieces down with a craft stick.