Felt Garland: How to Plan, Cut and String Circles, Leaves or Pennants
Plan the length and spacing of a felt garland, cut circles, leaves or pennants from shapes you draw yourself, and join them to a cord by threading, sewing or gluing.
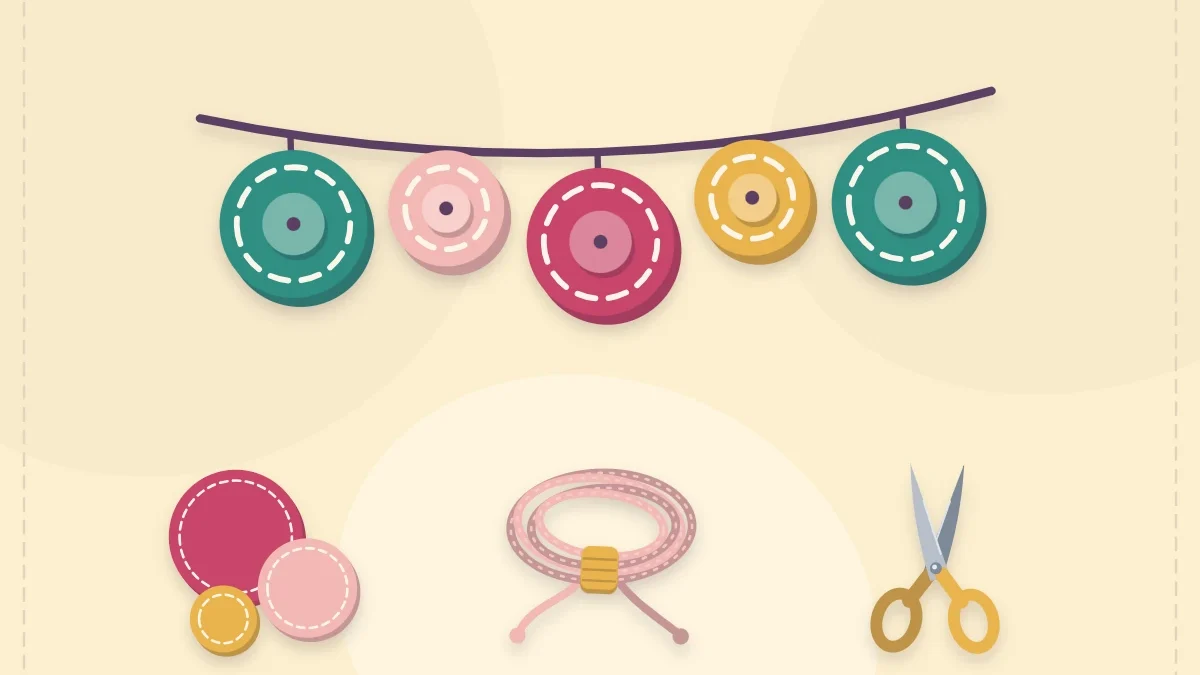
Project kit
Materials
- Craft felt or wool-blend felt in two to four colors
- Cord, twine or narrow ribbon
- Sharp scissors
- Paper, pencil and ruler
- Glass or jar lid about 2 in (5 cm) across
- Large-eye needle (threaded method)
- Embroidery floss and needle (sewn method)
- Tacky craft glue or fabric glue (glued method)
A felt garland is mostly planning. The cutting is repetitive and the joining takes minutes, but the result looks right only when the length suits the space and the shapes sit at even intervals. Decide those two things first and the rest is pleasant, low-concentration work.
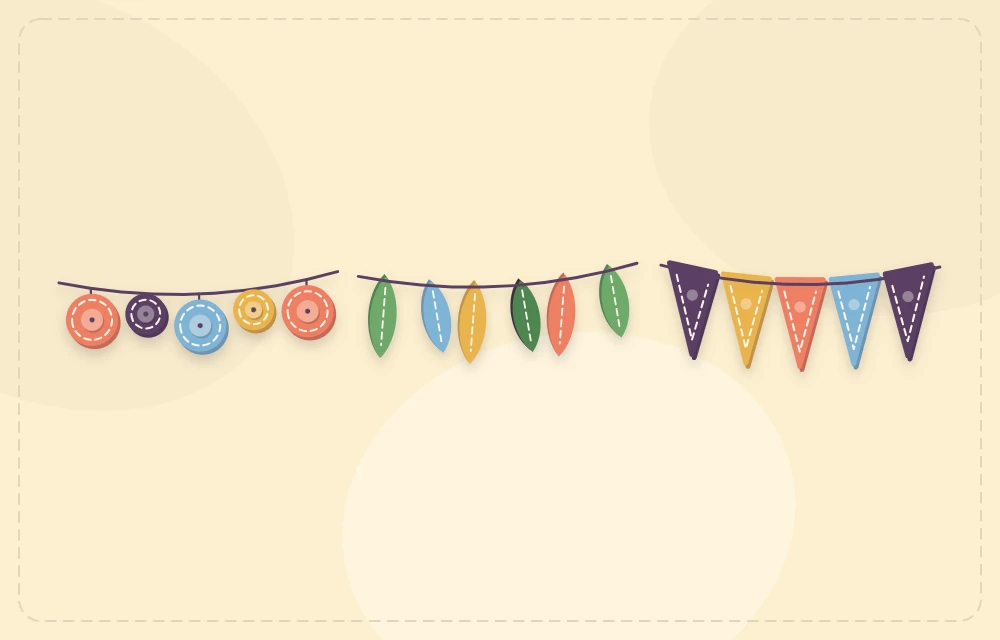
The instructions below cover three shapes you can draw yourself (circles, leaves and pennants) and three ways to attach them to a cord: threaded, sewn or glued. Each method gives a slightly different look, and one of them needs no needle at all.
What You Need
- Craft felt or wool-blend felt in two to four colors
- Cord, twine or narrow ribbon, the planned length plus extra for tying (see below)
- Sharp scissors
- Paper, a pencil and a ruler for the patterns
- A small glass or jar lid about 2 in (5 cm) across for circles
- For threading: a needle with an eye large enough for your cord
- For sewing: embroidery floss and an embroidery needle
- For gluing: tacky craft glue or fabric glue
Plan the Length and Spacing
Measure the place where the garland will hang, straight across from end to end. Then add three allowances:
- Drape. A garland pulled tight looks stiff. Add roughly one tenth of the span so it can dip gently in the middle.
- Tails. Add 8 in (20 cm) at each end for tying or looping.
- Spare. Add a few extra inches. Cord can be trimmed at the end but never lengthened.
To work out how many shapes to cut, add the width of one shape to the gap you want between shapes, then divide the decorated length by that number. For a mantel 60 in (152 cm) wide, the decorated length with drape is about 66 in (168 cm). Circles 2 in (5 cm) wide with 2 in (5 cm) gaps repeat every 4 in (10 cm), so 16 or 17 circles will fill it.
As a starting point, a gap equal to the width of the shape looks airy, a gap of half the width looks full, and shapes that touch read as one continuous band of color.
Draw and Cut the Shapes
Make one paper pattern per shape and reuse it. If your circles tend to come out with flat spots, the guide on how to cut felt cleanly explains how to turn the felt rather than the scissors.
- Circles. Trace around the glass or lid for circles about 2 in (5 cm) across.
- Leaves. Cut a paper rectangle 1 1/2 x 3 in (4 x 7.5 cm) and fold it in half lengthwise. Cut a gentle curve from the bottom of the fold to the top, then unfold for a symmetrical leaf.
- Pennants. Draw a rectangle 3 in (7.5 cm) wide and 4 in (10 cm) tall. Mark the center of the bottom edge and rule a line from each top corner to that mark. The triangle between the lines is the pennant.

Three Ways to Assemble a Felt Garland
| Method | Best for | Shapes are | Keep in mind |
|---|---|---|---|
| Threaded | Circles and leaves, quick results | Movable along the cord | Needs a needle with a large eye |
| Sewn | Pennants, garlands that get handled | Fixed in place | Slowest, most durable |
| Glued | Garlands seen from both sides, no-sew crafting | Fixed in place | Needs double the shapes and drying time |
Threaded
- Thread the needle with the cord. Do not cut the cord from its ball yet if you can avoid it; pull through only what you need.
- Take one stitch through each shape. From the front, push the needle in about 1/4 in (6 mm) from the left edge and bring it back out to the front the same distance from the right edge. On circles, make this stitch across the upper third so the shape hangs upright instead of tipping forward.
- Slide and space. Push each shape along the cord and continue. When all are on, measure the gaps with a ruler and adjust.
- Lock the ends. Tie a small knot in the cord just outside the first and last shapes so nothing slides off into the tails.
Sewn
- Mark the cord. Lay the cord flat and mark the position of each shape with a pin.
- Tack each shape on. Hold the cord against the back of the shape near its top edge. With two strands of floss, make four or five small stitches over the cord and into the felt, catching only the back surface so nothing shows on the front.
- Finish each one. Knot the floss on the back and trim. For pennants, a folded top works too: cut each pennant 1/2 in (1.3 cm) taller, fold that extra over the cord and secure it with a line of running stitches.
Glued
- Cut the shapes in pairs. Each position on the garland needs a front and a back.
- Glue a sandwich. Spread a thin layer of tacky glue on one shape, lay the cord across it a little above center, and press the matching shape on top.
- Let it dry flat. Leave the garland on a protected surface until the glue has set fully before lifting it. More glue-only ideas, and a comparison of glues, are in the article on no-sew felt projects.
Watch out
Too much glue soaks through felt and dries as a hard, shiny patch. Use a thin, even layer and keep it 1/8 in (3 mm) back from the edges.
Color and Pattern Ideas
- A repeating sequence. Three colors in a fixed order look calm and tidy. Lay the whole sequence out before joining so the two ends match.
- One color, several shades. Light to dark and back again gives a soft gradient across a shelf.
- A vertical strand. Thread circles through their centers and hang the cord straight down beside a window or mirror.
- Seasonal swaps. Rust and gold leaves for fall, white circles for winter, pastel pennants for spring. The year-round overview of seasonal felt crafts suggests color sets for each.
Hanging and Storing
Tie the tails to hooks, shelf brackets or curtain rod ends, or make a small loop at each end and slip it over a pin. A felt garland weighs very little, so it needs no heavy fixings.
Keep garlands away from candles, fireplaces in use and hot bulbs. A mantel garland should hang where it cannot reach the fire.
To store one without tangles, wind it around a piece of cardboard about 8 in (20 cm) wide, keeping the shapes flat, and tuck the last tail under a wrap.
Frequently asked questions
How many shapes do I need for a felt garland?
Add the width of one shape to the gap between shapes, then divide the decorated length of the cord by that number. A 66 in (168 cm) stretch with 2 in (5 cm) circles and 2 in (5 cm) gaps takes 16 or 17 circles.
Can I make a felt garland without sewing?
Yes. Cut the shapes in pairs and glue each pair together with the cord sandwiched between them, using a thin layer of tacky craft glue or fabric glue.
What cord works best for a felt garland?
Thin twine, cotton cord or narrow ribbon all work. For the threaded method, pick a cord that fits through the eye of a large needle.
How do I stop the shapes from sliding along the cord?
Tie a small knot in the cord outside the first and last shapes. To fix every shape in place, add a tiny dot of glue behind each one or use the sewn method.