How to Cut Felt Cleanly: Shapes, Circles, Curves and Strips
Clean edges make felt projects look finished. Learn which scissors to use, how to cut circles, tiny shapes and inside openings, and when a rotary cutter does the job better.

Project kit
Materials
- Craft felt or wool-blend felt for practice
- Fabric scissors, about 8 in (20 cm)
- Small sharp-pointed scissors
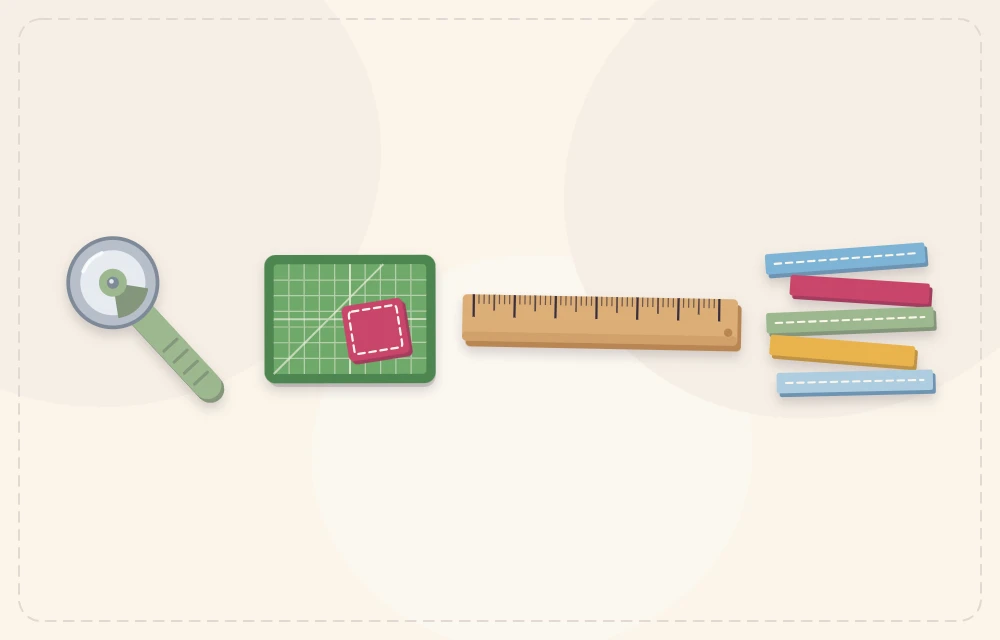
- Rotary cutter, self-healing mat and ruler (optional)
- Disappearing fabric pen or paper templates
- A glass, lid or coin to trace circles
Felt does not fray, which is exactly why a cut edge matters so much: there is no hem or seam allowance to hide it. Whatever the scissors leave behind is the finished edge of the project. Learning how to cut felt cleanly is mostly a matter of sharp blades, long strokes and moving the felt instead of the scissors.
The techniques below cover the cuts that come up again and again: straight lines, curves and circles, tiny shapes, openings in the middle of a piece, and long even strips.
Choose the Right Scissors
Three cutting tools cover nearly everything, and only the first is essential.
- Fabric scissors, about 8 in (20 cm): for straight lines, large shapes and cutting sheets down to size. Keep them for fabric and felt only; cutting paper dulls the edge quickly.
- Small sharp-pointed scissors, 4 to 5 in (10 to 13 cm): embroidery or detail scissors for tight curves, small pieces and inside cuts. The fine tips reach where long blades cannot.
- Rotary cutter with a self-healing mat and ruler: for long straight strips and multiples of the same rectangle.
Pinking shears are optional. They cut a zigzag edge that looks decorative on garland pennants and tags, though it is not needed to stop fraying.

How to Cut Felt Shapes Cleanly
A few habits apply to every cut, whatever the shape.
- Mark or attach the shape first. Cutting by eye rarely gives two matching pieces. Any of the transfer methods in the guide to felt templates will give a line or an edge to follow.
- Rough-cut around the shape. Cut the piece free from the sheet with about 1/2 in (1.2 cm) to spare. A small piece is far easier to turn than a full sheet.
- Use the deep part of the blades. Open the scissors wide and cut with the section nearest the pivot, where they have the most control. Stop before the tips close; snapping the tips shut leaves a small notch at the end of each stroke.
- Take long, smooth strokes. Many short snips produce a faceted, choppy edge. Fewer long cuts give a smooth line.
- Turn the felt, not the scissors. Keep the scissors pointing away from you in one comfortable position and feed the felt into the blades with the other hand.
- Cut just inside a drawn line. Removing the line as you cut means no pen marks on the finished piece.
Tip
Let the felt lie relaxed in your hand while cutting. Pulling it taut stretches the fibers, and the shape springs back smaller and distorted when released.
Curves, Circles and Small Shapes
Circles
Trace around a glass, lid or coin for the outline. Hold the scissors still and rotate the felt steadily into the blades, cutting in one continuous motion for as long as possible. Each time you stop and restart, re-enter the cut slightly behind where you stopped so the two cuts overlap rather than leaving a corner. If small bumps remain, shave them off with a single thin sliver instead of nibbling.
Inward corners and points
For a star, a heart’s top notch or a leaf with a deep dip, cut into the corner from both sides rather than trying to pivot at the bottom. Two cuts meeting at a point give a sharp inside corner; turning the scissors in place crushes the fibers and leaves a ragged dent.
Tiny pieces
Eyes, cheeks and flower centers under about 1/2 in (1.2 cm) are the hardest shapes to cut. Start from a strip the width of the piece rather than a full sheet, use small scissors and cut freehand with the strip held between finger and thumb. Making a few extra and choosing the best is quicker than perfecting one.
Fuzzy edges on small shapes are often about the material as much as the technique. Thin, loosely made felt frays into whiskers no matter how sharp the scissors are, so check the notes on types of felt if detail pieces never come out crisp.

Inside Cuts
An opening in the middle of a piece, such as a window in a frame, the hole in a ring or a buttonhole slit, cannot be reached from the edge.
- Fold the felt gently across the center of the area to be removed, without creasing it hard.
- Snip a small slit on the fold, about 1/4 in (6 mm) long.
- Unfold and insert the lower blade of small pointed scissors into the slit.
- Cut outward to the marked line, then follow the line around, turning the felt as for any curve.
For a buttonhole, the folded snip is the whole job: mark the length, fold across its midpoint and cut half the length on the fold.
Rotary Cutter for Strips and Rectangles
Long strips for loop flowers, fringe and woven projects are slow and wobbly with scissors. A rotary cutter gives parallel edges in seconds.
- Square up one edge. Lay the felt on the mat, align the ruler with a grid line and trim a sliver so the starting edge is straight.
- Measure from that edge. Move the ruler across by the strip width, for example 1 in (2.5 cm), using the mat’s grid at both top and bottom.
- Press the ruler down firmly with fingers spread and kept well back from the edge.
- Roll the blade away from you in one firm pass, keeping it tight against the ruler.
- Close the blade guard every time the cutter is set down.
Watch out
Rotary blades are extremely sharp. Always cut away from your body, retract or cover the blade between cuts, and keep the cutter out of reach of children.
Keeping Scissors Sharp
- Reserve felt scissors for felt and fabric. Paper, tape, wire and card all wear the edge.
- Wipe the blades after cutting through glue or freezer paper, since residue makes them drag.
- Store scissors closed and dry, in a sleeve or case if possible.
- When they start folding the felt between the blades instead of cutting it, have them professionally sharpened or replace them. Rotary blades are simply swapped for a new one.
Practice Exercise
Take one scrap sheet and cut a 3 in (7.5 cm) ruled square, a 2 in (5 cm) circle traced around a small lid and three 1/4 in (6 mm) dots. Wavy straight sides mean the strokes were too short; flat spots on the circle mean the felt stopped turning. Poor cutting sits high on the list of common felt craft mistakes, and it is the quickest to fix.
Frequently asked questions
Why are my felt edges fuzzy?
The usual causes are dull scissors, many short snips instead of long strokes, or thin loosely made felt. Sharpen or replace the scissors first, then try a denser felt for small shapes.
Can I cut two layers of felt at once?
Yes, for standard thin sheets. Pin the layers together so they cannot shift and use sharp scissors. Cut thick felt one layer at a time.
Do I need special scissors for felt?
No, but they must be sharp and kept for fabric only. A pair of fabric scissors plus small pointed embroidery scissors handles almost every felt project.
How do I cut a perfect felt circle?
Trace around a round object, hold the scissors still and rotate the felt into the blades in one continuous cut. Trim any bumps with a single thin sliver.