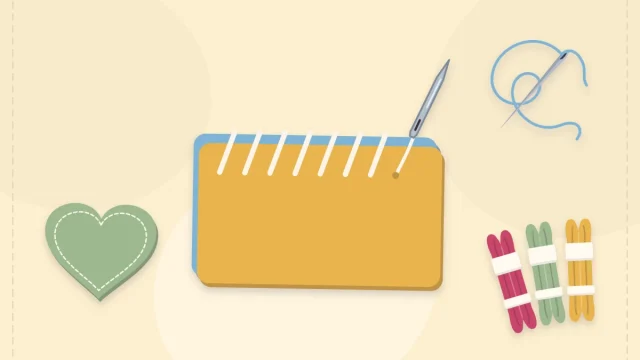
Felt Applique: Layering and Stitching Shapes
Felt applique explained from planning to finishing: stack shapes back to front, hold them with pins, glue or basting, stitch them down and add French knots and backstitch details.
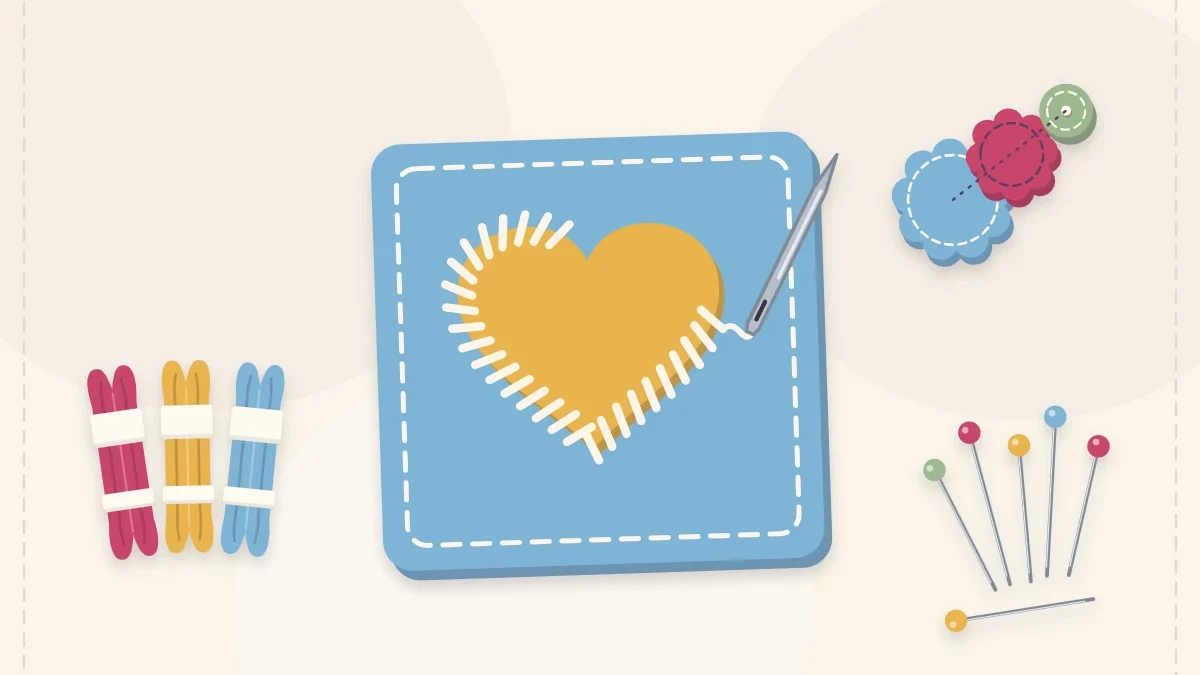
Project kit
Materials
- Wool-blend or craft felt for the background
- Felt scraps in 2-3 colors
- Embroidery floss
- Embroidery needle
- Small sharp scissors
- Fine pins or tacky craft glue
- Paper and pencil
Stack one felt shape on another, stitch it down, and a plain piece becomes a picture. That is all felt applique is: flat shapes layered on a background and held with small stitches. A circle on a square reads as a sun, a smaller circle on top turns it into a flower center, and a few knots finish the face of an animal.
Felt makes the technique unusually simple. The edges do not fray, so nothing needs turning under, and the thickness of the felt gives each layer a slight raised outline. The skill lies in planning the order of the layers and keeping the pieces still while they are stitched.
Planning Felt Applique Layers Back to Front
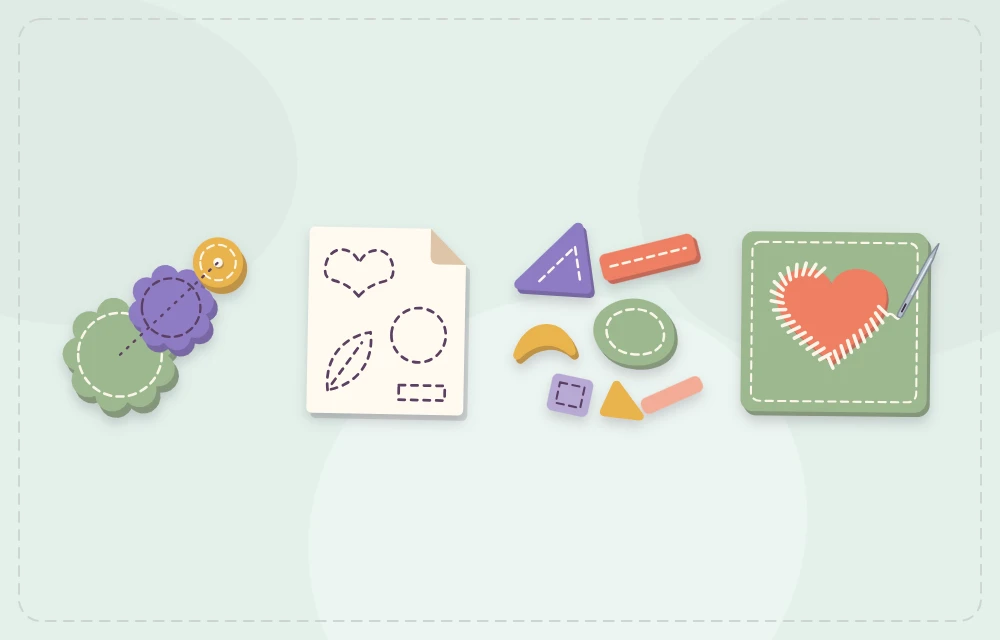
Every design is built like a stack of paper cutouts. The piece that sits furthest back goes on first, and anything that overlaps it follows. Sketch the design on paper, then number the shapes in the order they are stacked: background, large shapes, medium shapes, small details.
- Underlap instead of butting. Where two shapes meet, extend the lower one about 1/8 in (3 mm) under the upper one. Two edges placed side by side always leave a gap.
- Limit the stack. Three layers on top of the background is a comfortable maximum. Beyond that the needle is hard to push through and the piece turns stiff.
- Keep small pieces sensible. Shapes narrower than about 3/8 in (1 cm) are hard to stitch. Draw thin lines such as stems and whiskers with thread instead.
Shapes can be drawn freehand or built from traced circles, folded-paper hearts and ruled rectangles; the guide to making felt templates covers drawing and transferring them, including how to flip a shape for a mirrored pair.
What You Need
- A background piece of felt, about 5 x 5 in (13 x 13 cm) for practice
- Felt scraps in two or three colors
- Embroidery floss to match or contrast, and an embroidery needle
- Small sharp scissors
- Fine pins, tacky craft glue or sewing thread for basting
- Paper and pencil for the sketch
Holding Pieces in Place
Felt grips felt slightly, but not enough to stop a shape creeping while it is stitched. Three methods work, and the size of the piece decides between them.
| Method | Best for | Watch for |
|---|---|---|
| Pins | Shapes larger than 1.5 in (4 cm) | Pins distort small pieces and catch the thread |
| Glue dot | Small shapes and tiny details | Keep glue in the center, away from the stitching line |
| Basting | Large or slippery layouts, many pieces at once | Use sewing thread and long stitches that pull out easily |
For a glue dot, use a drop of tacky craft glue no bigger than a pinhead, spread thin with a pin tip, and let it dry before stitching. Too much glue soaks through and leaves a hard, shiny patch. For basting, take three or four long stitches through the middle of the shape in ordinary sewing thread, without a knot, and pull them out when the edge is secure.
Attaching the Shapes: Three Stitches
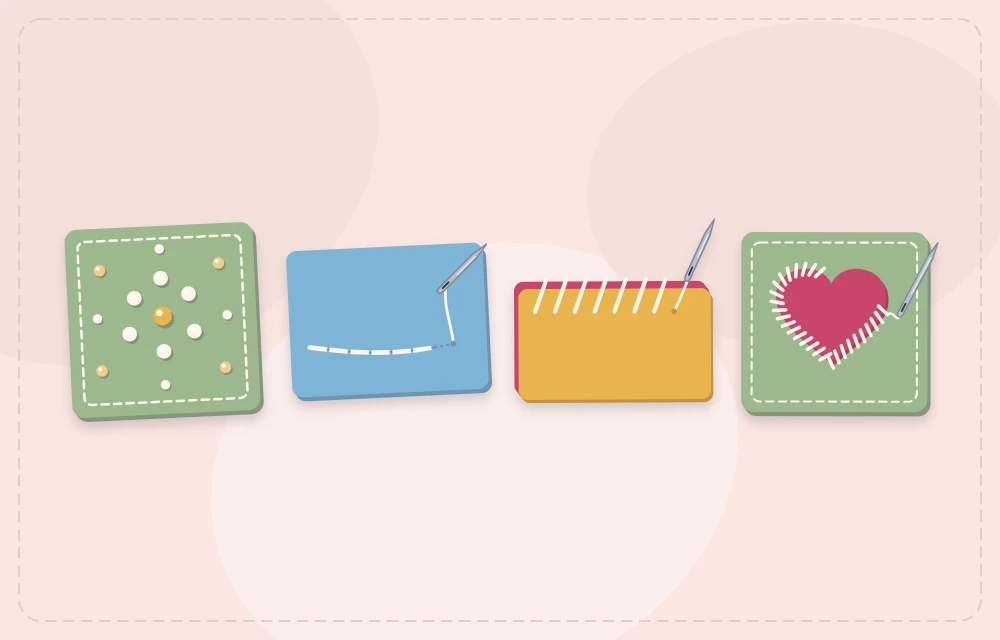
Whip stitch
The least visible option. Bring the needle up through the background and the shape about 1/16 in (2 mm) inside the shape’s edge, then down into the background just outside it. Short bars sit square to the edge. In matching floss they nearly vanish, which suits small pieces and realistic designs. The full method is in the guide to the whip stitch on felt.
Running stitch
A dashed line worked about 1/8 in (3 mm) inside the edge, through both layers. It is quick, it follows curves easily and, in a contrast color, it gives a hand-drawn outline. The outer edge stays loose and lifts a little, which adds texture but is less suited to items that are handled often.
Blanket stitch
The most decorative choice. The leg lies on the shape and the bar rests along its edge on the background. It needs room, so keep it for shapes at least 1.5 in (4 cm) across with gentle curves.
- Cut all the pieces. Lay them on the background without fixing anything and check the overlaps.
- Remove everything except the lowest layer. Fix that layer with a pin, a glue dot or basting.
- Stitch around it. Start with the knot on the back of the background. Skip any stretch of edge that the next shape will cover.
- Add the next layer. Fix it, stitch it, and repeat until the stack is complete.
- End each thread on the back. Slide the needle under two or three stitches, loop once, and trim.
Adding Detail Stitches
Embroidery supplies what scissors cannot cut. Two stitches cover most needs.
French knots make dots: eyes, flower centers, berries, seeds. Bring the needle up, wrap the floss around it twice, hold the thread taut, and push the needle back down one or two fibers away from where it came up, not into the same hole, or the knot will pull through. Use three strands for a knot that stands up clearly.
Backstitch makes solid lines: stems, mouths, leaf veins, whiskers. Take one stitch forward, come up one stitch length ahead, then go back down into the end of the previous stitch. Stitches of about 1/8 in (3 mm) keep curves smooth.
A few straight stitches radiating from a center make a quick star or a flower’s stamens, and stitched eyes are a safer choice than buttons or beads on anything meant for a small child.
Common Problems and Fixes
- The background puckers. The stitches are too tight, or the piece was held curved in the hand. Work flat on a table and pull each stitch only until it rests on the felt.
- A shape has shifted. Unpick back to where it was straight, fix it again with a glue dot and continue.
- Edges lift between stitches. Move the stitches closer together, about 1/8 in (3 mm) apart.
- Pen lines show. Cut just inside traced lines, or trace on the back of the felt with the template flipped.
Practice Exercise: A Three-Layer Flower
Trace three circles around household objects: about 3 in (7.5 cm), 2 in (5 cm) and 1 in (2.5 cm) across. Cut each from a different color and cut one leaf, 2 in (5 cm) long, from a folded paper shape. Tuck the leaf 1/8 in (3 mm) under the largest circle and whip stitch both to the background. Attach the middle circle with a running stitch and the smallest with a ring of French knots. Add a backstitched stem. The finished square uses every method on this page and can become the first panel of a felt wall banner.
Frequently asked questions
Which stitch is best for felt applique?
Whip stitch is the most versatile because it holds the edge flat and hides well in matching thread. Running stitch is fastest, and blanket stitch is the most decorative on larger shapes.
Can felt applique be glued instead of sewn?
Yes, for decorations that will not be handled much. Use a thin, even layer of tacky craft glue or fabric glue and press the piece flat while it dries; stitched edges last longer on items that get regular use.
How many layers of felt can be stacked?
Three layers on top of the background is a practical limit for hand stitching. More than that becomes stiff and hard to push a needle through.
Does applique need an embroidery hoop?
Usually not. Felt is firm enough to stitch in the hand or flat on a table, and a tight hoop can stretch it and leave a ring mark.