10 Felt Craft Mistakes Beginners Make and How to Fix Them
Ten common beginner problems with felt, from fuzzy edges and tangled floss to lumpy stuffing and glue stains, each with its cause and a practical fix.

Ragged edges, lumpy hearts and a bookmark with a shiny glue stain are part of learning, and nearly all of them trace back to a short list of causes. The felt craft mistakes below are the ones beginners run into most often. Each entry explains what goes wrong, why it happens and how to fix it, both on the piece in hand and on the next one.
None of these problems needs new equipment to solve. Most come down to a small change in habit: a shorter thread, a lighter hand with the glue, or scissors that are kept for fabric alone.
The Most Common Felt Craft Mistakes at a Glance
| Problem | Usual cause | Quick fix |
|---|---|---|
| Fuzzy, chewed edges | Dull scissors | Fabric-only scissors, long cuts |
| Pieces that do not match | Felt stretched while cutting | Pin and cut two layers together |
| Knots and tangles | Thread too long | Cut floss to forearm length |
| Visible lines | Marking on the front | Mark the back or use a template |
| Lumpy stuffed shapes | Stuffing added in large wads | Small tufts, less of it |
| Hard shiny patches | Too much glue | Thin dots on the smaller piece |
Cutting Mistakes
1. Using dull or paper-worn scissors
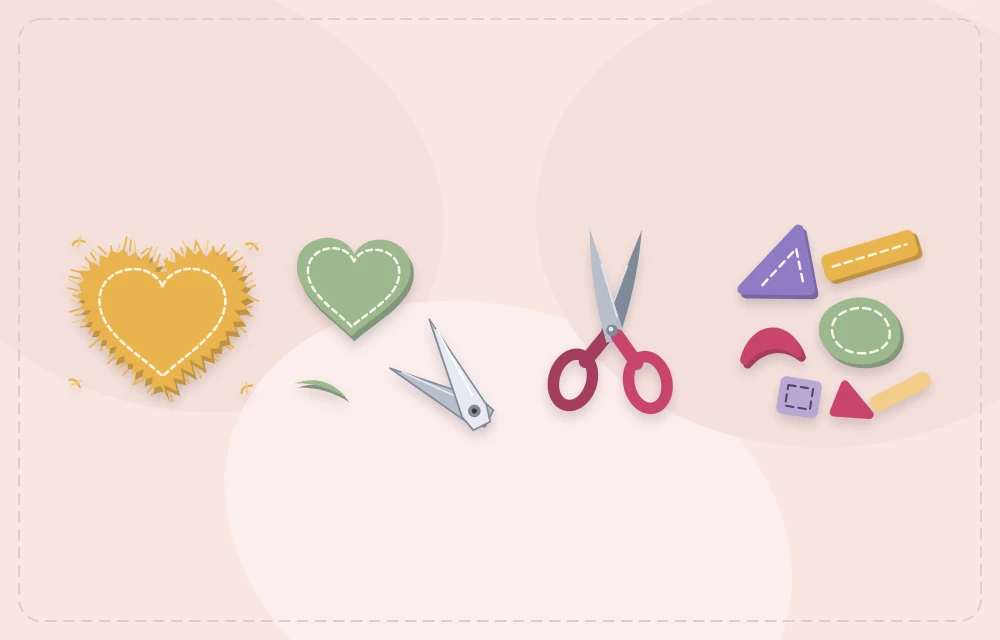
What happens: edges look fuzzy and stepped, and the scissors fold the felt between the blades instead of slicing it. Why: felt is dense, and blades dulled by paper, tape or card push the fibers apart rather than cutting them. Fix: keep one sharp pair for fabric only, cut with the deep part of the blades and close them in long strokes. Tidy an existing fuzzy edge by trimming a hair’s width off with the sharp pair. The full technique is in the guide on how to cut felt.
2. Stretching the felt
What happens: a circle turns into an oval, or two pieces cut from the same template come out different sizes. Why: felt gives when pulled, especially thin acrylic craft felt, and tugging it taut while cutting or pinning distorts the shape. Fix: lay the felt flat and relaxed, hold the template down rather than pulling the felt, and cut matching pieces as a pinned pair.
3. Choosing felt that fights the project
What happens: small shapes tear at narrow points, edges pill, and stitches pull through. Why: very thin, loosely made felt has little strength for fine detail or firm seams. Fix: save the thinnest sheets for practice and large simple shapes, and use a denser wool-blend felt for small pieces and anything handled often. The guide to types of felt compares the options.
Marking Mistakes
4. Leaving pen marks on the front
What happens: an outline shows around the finished shape, or a dark line peeks out beside the stitches. Why: the shape was traced on the side that ends up facing out, with a pen that does not come off. Fix: trace on the back and remember that asymmetrical shapes must then be flipped. Better still, cut around a pinned paper template and skip the line. If a line is needed, use an erasable fabric pen and test it on a scrap first. On a finished piece, cut just inside a stray line or cover it with a small added shape.
Stitching Mistakes
5. Cutting the thread too long
What happens: the floss twists, knots itself halfway through a seam and frays near the needle. Why: a long thread is dragged through the felt many more times, and every pass adds twist and wear. Fix: cut floss about the length of a forearm, roughly 18 in (45 cm). Let the needle dangle now and then so the thread can untwist.
6. Using all six strands
What happens: stitches look heavy, the needle is hard to pull through and holes show in the felt. Why: embroidery floss is made of six strands meant to be separated, and the full thickness is too much for most small pieces. Fix: separate out two or three strands for seams and one or two for fine detail. The guide to needle and thread for felt matches strand counts and needle sizes to different jobs.
7. Uneven stitches
What happens: stitches vary in length and wander toward and away from the edge. Why: spacing is being judged one stitch at a time, with no reference. Fix: aim for a fixed distance from the edge, usually 1/8 in (3 mm), and check it every few stitches. A row of faint dots from an erasable pen, or the width of the needle used as a gauge, helps at first. Unpick only the worst two or three stitches rather than the whole seam.
8. Pulling the thread too tight
What happens: the edge puckers, a flat piece cups like a bowl and stitches sink out of sight. Why: felt compresses, so a firm tug gathers it. Fix: pull until the stitch lies flat on the surface, then stop. If a seam has already puckered, slide a needle under each stitch in turn and ease a little slack back along the line.
Tip
Stitch a 3 in (7.5 cm) practice seam on two scraps before each project. It sets the spacing and tension for the session and shows whether the floss color works.
Stuffing and Glue Mistakes
9. Overstuffing
What happens: seams strain and gape, stitches stand out like ladder rungs and the shape loses its outline. Why: stuffing was pushed in as one large wad, or simply too much was used. Fix: add small tufts, push them into points and corners first with a blunt tool, and stop when the piece is softly rounded and the edges still meet without pulling. More detail is in the guide to stuffing felt projects.
10. Letting glue soak through
What happens: a hard, shiny patch appears on the front and the felt turns stiff. Why: felt is absorbent, and a thick layer of glue travels through to the visible side. Fix: use a thick tacky glue, put small dots on the back of the smaller piece, spread them thin and press straight down. A soaked patch cannot be removed, but it can be hidden under an extra layer or a few decorative stitches.

A Quick Check Before Every Project
- Scissors sharp and used for fabric only
- Template drawn on paper, with matching pieces cut together
- Floss cut to forearm length and split to two or three strands
- Marking pen tested on a scrap
- Glue tested on a scrap, if glue is involved
- A short practice seam stitched first
Safety belongs on the same list. Children need supervision with needles and scissors, and hot glue burns, so press glued pieces down with a tool rather than a fingertip.
Frequently asked questions
Why are my felt edges fuzzy after cutting?
The scissors are usually dull or have been used on paper. Keep a sharp pair for fabric only and cut with long strokes using the deep part of the blades.
How long should thread be for sewing felt?
About the length of a forearm, roughly 18 in (45 cm). Longer thread twists, tangles and frays before the seam is finished.
How do I remove pen marks from felt?
Marks from an erasable fabric pen fade or dab away as the pen's instructions describe, but permanent ink does not come out. Trim just inside the line or cover it with another shape.
Can glue that soaked through felt be fixed?
The stiff patch cannot be removed once dry. Hide it under an extra felt shape or decorative stitching, and use thinner dots of glue next time.