Felt Bookmarks: A Corner Pocket and a Strip Style to Sew
Sew two styles of felt bookmark from shapes drawn with a ruler: a corner pocket made from a square and a triangle, and a long strip topped with a small shape.

Project kit
Materials
- Wool-blend felt in 2 colors
- Embroidery floss in a contrasting color
- Embroidery needle
- Sharp fabric scissors
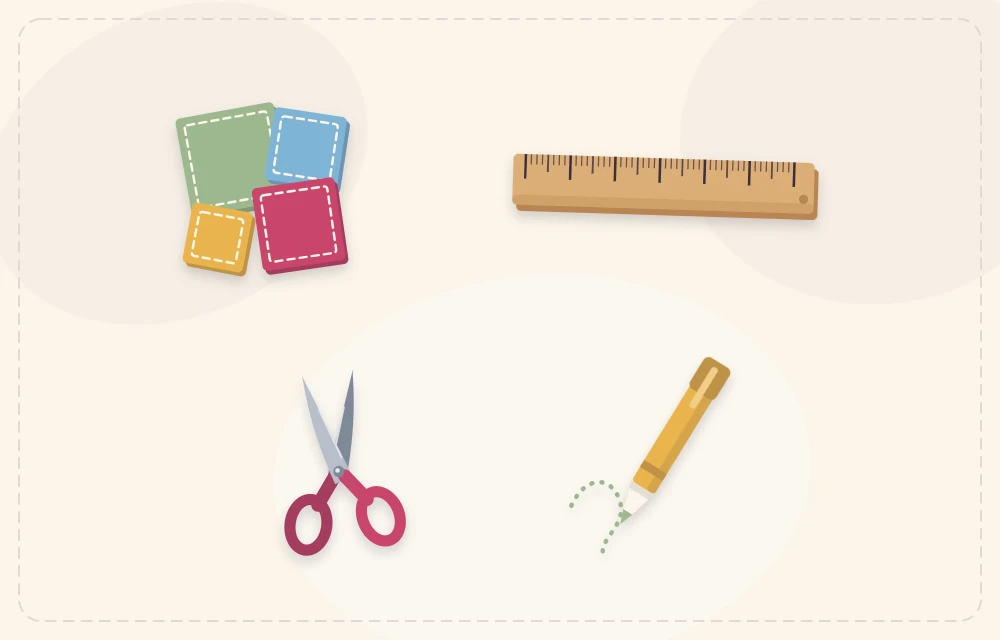
- Ruler, pencil and paper
- Pins
- Erasable fabric pen (optional)
- Tacky craft glue (optional)
A scrap of felt no bigger than a playing card can hold a place in a book better than a folded page corner. Felt bookmarks are thin enough not to strain a binding, soft enough not to mark the paper, and quick enough to make in a batch. They also happen to be excellent stitching practice, because the seams are short and the pieces are easy to hold.
This tutorial covers two styles. The corner bookmark is a small pocket that slips over the top corner of a page. The strip bookmark is a long rectangle with a shape on top that peeks out above the book. Both start from squares and rectangles drawn with a ruler.
What You Need
- Wool-blend felt in two colors, one sheet 9 x 12 in (23 x 30 cm) of each (far more than needed; scraps work too)
- Embroidery floss in a contrasting color
- Embroidery needle
- Sharp fabric scissors
- Ruler, pencil and plain paper
- Two or three pins
- Erasable fabric pen (optional)
- Tacky craft glue (optional, for decoration)
Cutting the Pieces for Felt Bookmarks
Draw each shape on paper first and cut it out as a template. Paper templates give straighter lines than marking directly on felt, and they can be reused. The guide to making felt templates explains several ways to hold a paper shape in place while cutting.
Corner bookmark
- Back: one square, 3 x 3 in (7.5 x 7.5 cm).
- Front pocket: a second 3 in (7.5 cm) square in the other color, cut in half from corner to corner. One of the two triangles is the pocket. Keep the other for a second bookmark.
- Decoration (optional): a heart about 1 in (2.5 cm) wide, cut from paper folded in half so both sides match.
Strip bookmark
- Strip: one rectangle, 1 1/2 x 7 in (4 x 18 cm).
- Topper: two matching shapes about 2 in (5 cm) across. A circle traced around a bottle cap, a heart from folded paper or a five-point star all work.
Check that the triangle sits exactly on one corner of the square, with the two short sides lined up along the square’s edges. Trim any sliver that overhangs.
How to Sew a Corner Bookmark
- Add the decoration first. If the triangle is getting a heart, attach it now, with a few small stitches or a thin dot of glue, while the triangle is still a single flat layer. Let glue dry before moving on.
- Pin the layers. Lay the triangle on the square so the right-angle corners match. The long diagonal edge runs across the middle of the square and stays open. One pin through the center is enough.
- Thread the needle. Cut about 18 in (45 cm) of floss and separate out two or three strands. Knot one end.
- Hide the knot. Start at one end of the diagonal. Bring the needle up from between the two layers so the knot is trapped inside the pocket.
- Stitch the first side. Work along one outside edge toward the corner, sewing through both layers about 1/8 in (3 mm) from the edge. A simple running stitch is fine. For a more decorative border, follow the guide to blanket stitch on felt.
- Turn the corner. Make one stitch that lands exactly at the corner point, then continue down the second side. With blanket stitch, work three stitches into the same corner hole so they fan out neatly.
- Reinforce the ends. The two points where the open diagonal meets the edges take the most strain. Make two stitches on top of each other at each one.
- End off. Take the needle between the layers, make a small knot around the last stitch, pull it inside the pocket and trim the tail.
Tip
Stitch the two closed sides only. If the needle catches the diagonal edge of the triangle to the back square, the pocket will not open. Slide a strip of card inside while sewing to keep the layers apart.
Strip Bookmark Variation
The strip version takes even less time and shows more of the felt above the page.
- Shape the bottom. Leave the lower end square, cut it to a point, or snip a small V into it. Mark the center with the fabric pen to keep it even.
- Sandwich the top. Place one topper shape under the top 1/2 in (1.3 cm) of the strip and the matching one over it, so the strip is caught between them.
- Stitch around the topper. Sew around the whole shape through all the layers it covers, 1/8 in (3 mm) from the edge. Where the strip passes through, the needle goes through three layers, so push it straight down rather than at an angle.
- Add a line of stitching. A row of running stitch down the center of the strip is optional, but it stiffens the bookmark slightly and ties the colors together.

Ideas for Decorating
- Two-color corners: cut the back and the pocket from contrasting colors, then swap the leftover triangle onto a second back for a reversed pair.
- Animal corners: two small triangles tucked between the layers along the top edges turn the pocket into a fox or an owl. Add a face with a few straight stitches rather than beads.
- Zigzag ends: trim the bottom of a strip with pinking shears.
- Stitched patterns: rows of running stitch, small crosses or scattered French knots add texture without extra felt.
- Seasonal toppers: a leaf for fall, a star for winter, a tulip for spring.
Flat decoration matters here. Buttons and thick beads make a lump that presses into the pages, so stitched or thin felt details are the better choice. A matched pair of bookmarks also makes a good addition to a book given as a present, and other small makes in the same spirit are collected under felt gift ideas.
Troubleshooting and Care
- The pocket is too tight for thick paper. Stitch a little closer to the edge, or cut both pieces from a 3 1/2 in (9 cm) square.
- The corner will not sit flat. The triangle was stretched while sewing. Pin it without pulling, and do not tug the thread tight.
- The strip curls. Thin acrylic craft felt bends easily. Use wool-blend felt, or glue two strips together for a double layer.
- Layers do not match at the edge. Trim both together with sharp scissors after stitching, taking off as little as possible.
- Fuzz builds up. Press a piece of tape over the surface to lift lint. Spot clean with a barely damp cloth and let the bookmark dry flat before putting it back in a book.
Frequently asked questions
What size should a felt corner bookmark be?
A 3 in (7.5 cm) square with a matching triangle fits most books. Go up to 3 1/2 in (9 cm) for thick paper or large hardbacks.
Can felt bookmarks be glued instead of sewn?
Yes. Run a thin line of fabric glue along the two closed edges of the corner pocket and weight it while it dries. Stitched edges last longer with daily use.
Will a felt bookmark damage the pages?
Thin, flat felt is gentle on paper. Avoid buttons, beads and thick layers, which create a lump that can dent pages when the book is closed.