Felt Ornaments: Stuffed Star, Heart and Circle to Hang All Year
Make stuffed felt ornaments in three shapes you draw yourself. Cut two layers, stitch the edge, add a ribbon loop and a little stuffing, then close the gap for a soft decoration.
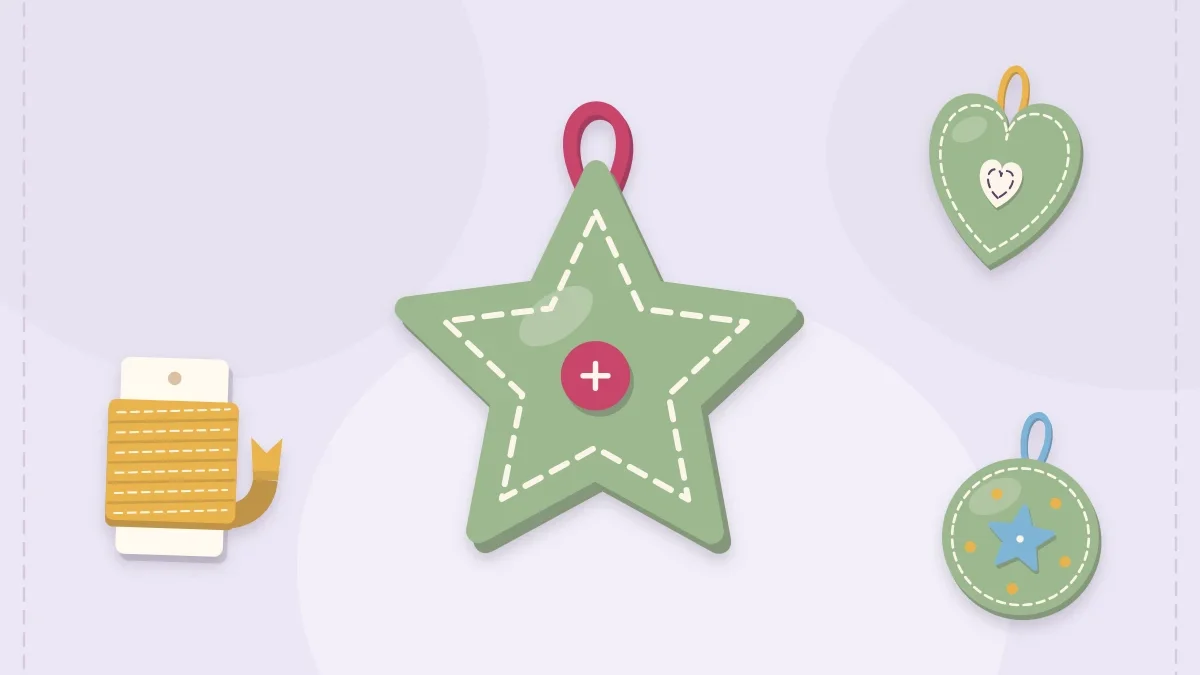
Project kit
Materials
- Wool-blend felt or craft felt
- Embroidery floss
- Embroidery needle
- Narrow ribbon or cord, 6 in (15 cm) per ornament
- Polyester fiberfill
- Paper, pencil and ruler
- Drinking glass about 3 in (7.5 cm) wide
- Sharp scissors and pins
Stuffed felt ornaments are built with one small method that shows up again and again in felt crafting: cut two matching shapes, stitch around the edge, add a little stuffing, and close the gap. Once that sequence feels familiar, a star, a heart and a circle are all the same project with a different outline.
Nothing about the shapes below is tied to one holiday. A pink heart suits a door handle in February, and circles in leaf colors can hang from a branch all fall. Each one finishes at about 3 1/2 inches (9 cm) across.
What You Need
- Wool-blend felt or craft felt, one 9 x 12 in (23 x 30 cm) sheet for every three ornaments
- Embroidery floss in a matching or contrasting color
- An embroidery needle with an eye large enough for three strands of floss
- Narrow ribbon or cord, 6 in (15 cm) per ornament
- Polyester fiberfill, a small handful per ornament
- Plain paper, a pencil, a ruler and a drinking glass about 3 in (7.5 cm) wide
- Sharp scissors and a few pins
- Optional: felt scraps, or a few buttons or beads for decoration

Draw and Cut the Three Shapes
Draw each shape on paper first, cut it out, and use the paper as your pattern. If you want the patterns to last for many ornaments, the article on making your own felt templates explains how to stiffen and store them.
Circle
Trace around the glass. A 3 in (7.5 cm) circle makes a nicely rounded ornament; anything smaller is fiddly to stuff.
Heart
Cut a 3 1/2 in (9 cm) paper square and fold it in half. Starting at the bottom of the fold, draw half a heart that uses the full height of the paper, then cut through both layers and unfold. Keep the dip at the top shallow, because a deep, narrow notch is hard to stitch around.
Star
Draw a circle 3 1/2 in (9 cm) across and mark five evenly spaced points on its edge, starting at the top, each a little more than 2 in (5.2 cm) from the next in a straight line. Join each point to the point two places away with a ruler. The outline of the figure you have drawn is a five-pointed star. Round each tip very slightly so the felt does not fray thin there.
Pin the paper to the felt and cut two pieces for each ornament. Cutting both layers at once tends to shift the felt, so cut them one at a time and then check that they match.
How to Make Stuffed Felt Ornaments
- Decorate the front first. Any detail has to go on before the two layers are joined. Stitch a smaller felt heart to the center, add a ring of running stitches 1/4 in (6 mm) inside the edge, or scatter a few French knots. Keep decoration at least 3/8 in (1 cm) away from the edge so it stays clear of the seam.
- Prepare the hanging loop. Fold the 6 in (15 cm) ribbon in half. Lay the two cut ends on the wrong side of the back piece, at the top, so they overlap the felt by about 1/2 in (1.3 cm). On the star, center the loop on one point; on the heart, place it in the dip.
- Pin the layers together. Put the front piece on top, wrong sides facing, with the ribbon ends sandwiched between. One or two pins are enough to stop the layers from sliding.
- Start stitching beside the ribbon. Thread the needle with about 20 in (50 cm) of floss, separated to three strands, and knot the end. Bring the needle out between the layers so the knot is hidden inside. Take the first two stitches straight through the ribbon and both felt layers to anchor the loop.
- Stitch around the edge. Work a blanket stitch through both layers, placing stitches about 1/8 in (3 mm) in from the edge and the same distance apart. A whip stitch also works if the blanket stitch is still new to you.
- Stop with a gap. When about 1 1/2 in (4 cm) remains open, pause but do not cut the thread. Choose a straight stretch for the gap: on the star, one side of a point; on the heart, one of the lower sides.
- Stuff lightly. Pull the fiberfill into tufts about the size of a grape and push them in one at a time, sending the first tufts into points and curves with the blunt end of a pencil. The ornament should feel softly rounded, not hard.
- Close and finish. Continue the stitch across the gap. At the starting point, make a tiny knot against the felt, pass the needle between the layers, bring it out about 1 in (2.5 cm) away and trim the thread flush so the tail disappears inside.

Tip
Stuff the points of a star before you have stitched all the way around them. Close each point, push in one small tuft, then move on. A finished point is almost impossible to fill from the far side.
Variations That Use the Same Method
- Two-tone ornaments. Cut the front and back from different colors and stitch with floss that matches neither, so the edge becomes a feature.
- Flat ornaments. Skip the stuffing and stitch all the way around for a slim ornament that mails well inside a card.
- Scalloped edge. Cut the back layer 1/4 in (6 mm) larger all around with pinking shears and join the layers with a running stitch instead of an edge stitch.
Fixing Common Problems
The edges do not line up. Felt stretches slightly as it is handled. Trim the two layers together with sharp scissors after pinning and before stitching, never afterward.
The ornament looks lumpy. Large wads of fiberfill cause lumps. Take the stuffing out through the gap, tease it apart and put it back in smaller pieces. The guide to stuffing felt projects covers how firm to go and how to reach narrow corners.
The ribbon pulls out. It was caught by only one stitch. Unpick the top, slide the ends deeper between the layers and stitch through the ribbon at least twice.
Hanging, Storing and Care
Hang the ornaments from drawer knobs, a row of hooks, a wreath or a bare branch in a jar. Store them flat in a box with tissue between the layers so the stuffing keeps its shape. Spot clean with a barely damp cloth rather than soaking them, and keep them away from candles and heaters. Ornaments decorated with buttons or beads have small parts and are not suitable for children under 3; felt decorations in general are for looking at, not for play.
Frequently asked questions
What stitch is best for felt ornaments?
Blanket stitch gives a neat, decorative edge and holds two layers firmly. Whip stitch is quicker and works just as well if the blanket stitch is still unfamiliar.
How much stuffing does a felt ornament need?
A small handful is enough for an ornament about 3 1/2 in (9 cm) across. Add it in small tufts until the shape is softly rounded; an overfilled ornament strains the seam.
Can felt ornaments be made without stuffing?
Yes. Stitch the two layers together all the way around for a flat ornament. Flat ornaments are slimmer and easy to tuck into a card or envelope.
Are felt ornaments safe for young children?
They are decorations, not toys. Ornaments with buttons or beads have small parts and are not suitable for children under 3, so hang them out of reach.