Rolled Felt Roses: Spiral-Cut Roses in Any Size
Cut a spiral from a felt circle and roll it into a rose. Includes a wavy-edge variation, a size table by circle diameter, and when to glue or stitch the base.
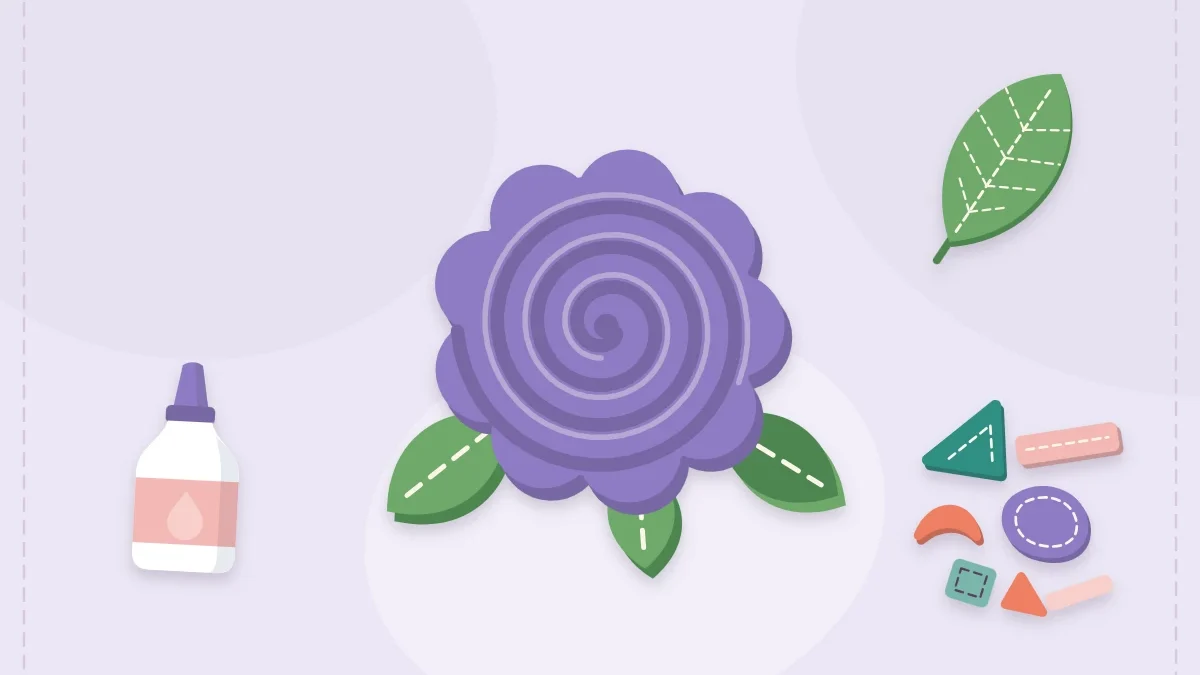
Project kit
Materials
- Wool-blend felt or craft felt
- Small sharp scissors
- Tacky craft glue, fabric glue or a low-temperature glue gun
- Needle and matching thread (for a stitched base)
- Round object about 4 in (10 cm) across to trace
- Disappearing fabric pen or pencil
- Green felt scraps for leaves (optional)
Draw a spiral on a felt circle, cut along the line, roll the strip up from the outside, and the small disc left at the center becomes the base that holds everything together. That is the whole idea behind rolled felt roses, and it explains why they are so often the first felt flower people make: one piece, one cut, no pattern to match.
What takes a little practice is control. The width of the spiral, the tightness of the roll and the way the base is fixed all change how the rose looks. This tutorial goes through each of those choices, plus a wavy-edge version that looks more like an open garden rose.
What You Need
- Wool-blend felt or craft felt, one 4 in (10 cm) square per medium rose
- Small sharp scissors
- Tacky craft glue, fabric glue or a low-temperature glue gun; or a needle and thread matched to the felt
- A glass, lid or other round object to trace, about 4 in (10 cm) across
- A disappearing fabric pen or a pencil
- Green felt scraps for leaves (optional)
Thinner felt, around 1 mm, rolls into tighter, more detailed roses. Thick or stiffened felt resists rolling and tends to spring open, so save it for other projects.
How to Make Rolled Felt Roses
- Cut a circle. Trace the round object and cut out a 4 in (10 cm) circle. It does not need to be perfect; small wobbles vanish in the roll.
- Draw the spiral. Starting at the edge, draw a line that curls inward, staying about 5/8 in (1.5 cm) from the edge and then from the previous turn. Two and a half to three turns will fit. Stop when a disc about 3/4 in (2 cm) across is left in the middle.
- Cut along the line. Turn the felt, not the scissors, and cut in one continuous pass. Round off the blunt outer end of the strip into a taper.
- Start the roll. Take the tapered outer end and roll it tightly around itself three or four times to make the bud at the center of the rose. Keep the inner edge of the spiral, the one that was closer to the middle, level at the bottom.
- Keep rolling, more loosely. Continue around, letting each turn sit a little slacker than the last. The top edge will flare outward by itself as the curve of the spiral tightens.
- Let it relax. When you reach the center disc, set the rose down on the disc and loosen your grip slightly. The rose opens a little; let it settle to the fullness you like.
- Fix the base. Fold the disc flat under the roll and attach it with glue or stitches, as described below.
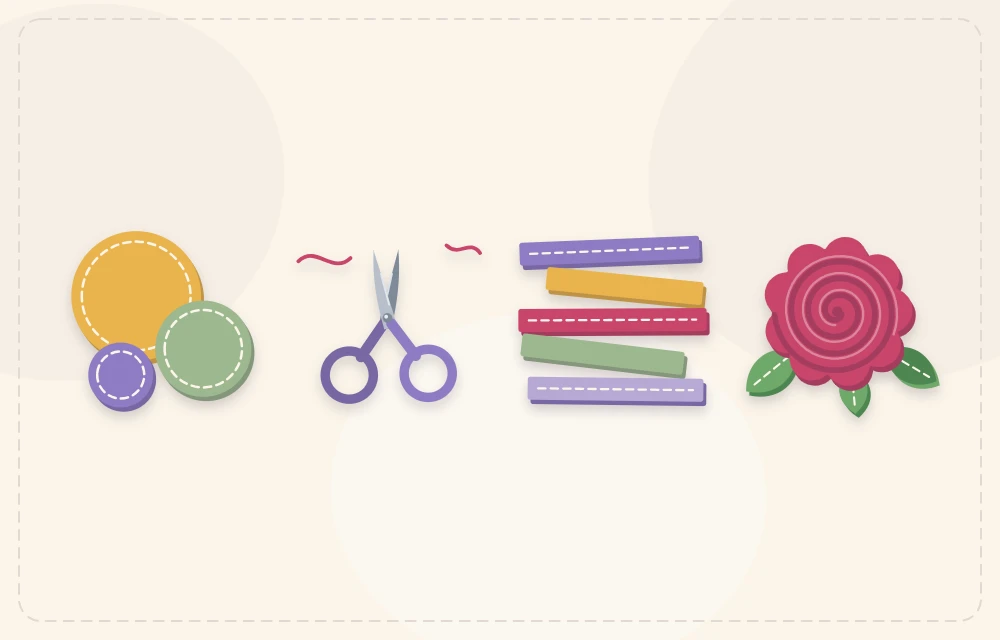
Tip
If the bud keeps unrolling while you work, put one small dot of glue on the tapered end before the first turn and hold it for a few seconds. With the center locked, the rest of the roll is much easier to manage.
Wavy-Edge Variation
For a softer rose, draw the spiral as before, but cut it as a wavy line: let the scissors drift gently to either side of the drawn line in shallow scallops, each about 3/4 in (2 cm) long and no more than 1/8 in (3 mm) deep. One wavy cut shapes both edges of the strip, so the rose ends up ruffled at the top, with a slightly uneven base that the disc hides.
Wavy roses look best rolled loosely. Tight rolling crushes the scallops together.
Rose Sizes by Circle Diameter
The starting circle and the width of the spiral strip set the finished size. The strip width becomes the height of the rose. The figures below are approximate, since a loose roll comes out wider than a tight one.
| Circle diameter | Strip width | Finished rose, about | Typical use |
|---|---|---|---|
| 3 in (7.5 cm) | 1/2 in (1.3 cm) | 1 in (2.5 cm) | Buds, fillers, small hair clips |
| 4 in (10 cm) | 5/8 in (1.5 cm) | 1 1/2 in (4 cm) | Clips, gift toppers, brooches |
| 5 in (12.5 cm) | 3/4 in (2 cm) | 2 in (5 cm) | Headbands, wreaths, bouquets |
| 6 in (15 cm) | 1 in (2.5 cm) | 2 1/2 in (6.5 cm) | Bouquet centerpieces, wall decor |
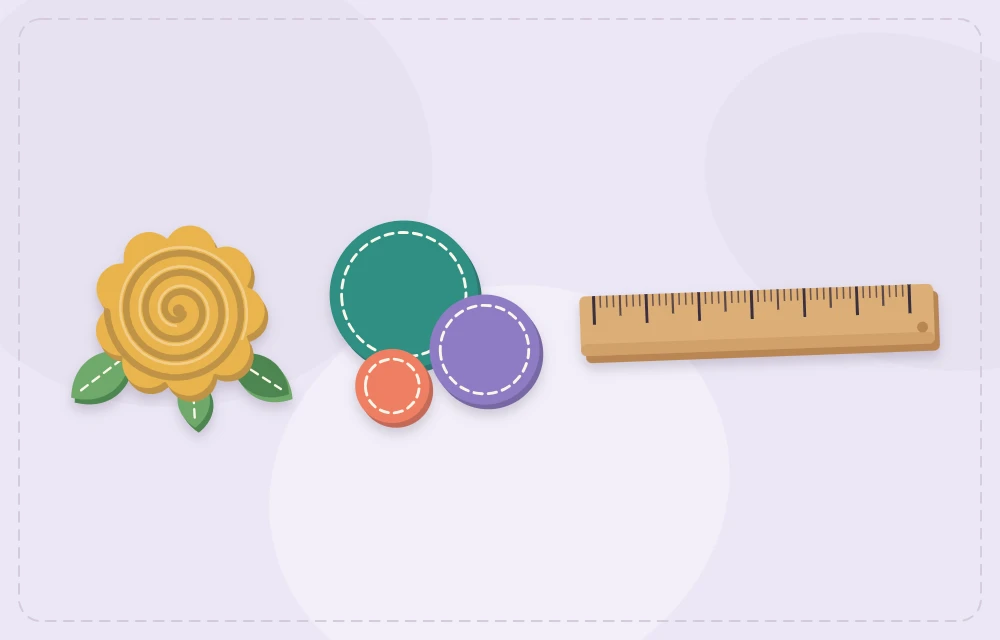
Gluing vs. Stitching the Base
Gluing
Spread glue generously over the center disc and press the rolled base down onto it. Tacky craft glue and fabric glue give time to adjust but need holding or clamping with a clip for a few minutes, then drying fully. A glue gun grabs in seconds, which is convenient for a batch. Hot glue burns, so keep fingers out of the way and use a low-temperature gun where possible, and remember that acrylic craft felt can be damaged by high heat. The article on no-sew felt projects compares these glues in more detail.
Stitching
Thread a needle with sewing thread or two strands of floss in the color of the felt. Push the needle sideways through the base of the roll, all the way through every layer, and repeat in a star pattern four or five times so each turn is caught. Then fold the disc under and whip stitch around its edge to the outermost turn. A stitched rose survives bending and handling better than a glued one.
Choose stitching for anything that will be worn, flexed or tugged, and glue for decorations that sit still.
Troubleshooting
- The rose is cone-shaped. The bottom edge crept upward during rolling. Unroll and start again, pressing the base against the table as you turn.
- The center pops up. The bud was not secured. Add a dot of glue or a stitch through the first few turns.
- Glue shows on the petals. Too much was used, or it was applied too high. Keep all glue on the disc and the lowest part of the roll.
Using Your Roses
Add one or two leaves cut from a folded 1 x 2 in (2.5 x 5 cm) paper pattern and tuck them under the base before the glue sets. A single medium rose glued to a felt-covered clip is a quick accessory; the tutorial on felt hair accessories shows how to attach flowers to clips and headbands so they stay put.
Roses also combine well with flatter blooms. The overview of felt flowers has three other constructions that sit nicely beside them.
Frequently asked questions
What size circle do I need for a rolled felt rose?
A 4 in (10 cm) circle with a spiral strip about 5/8 in (1.5 cm) wide makes a rose roughly 1 1/2 in (4 cm) across. Larger circles and wider strips make bigger, taller roses.
Is it better to glue or stitch a felt rose?
Glue is quick and fine for decorations that sit still. Stitch the base for anything worn or handled, such as hair clips and brooches, because stitches cope better with bending.
Why does my rolled rose keep unrolling?
The tight center is not secured. Put a small dot of glue or a stitch through the first few turns before rolling the rest.
Can I use hot glue on felt roses?
Yes, with care. Hot glue burns skin, and acrylic craft felt can be damaged by high heat, so a low-temperature glue gun is the safer choice.