Felt Hair Accessories: A Bow Clip, a Snap-Clip Cover and a Flower Headband
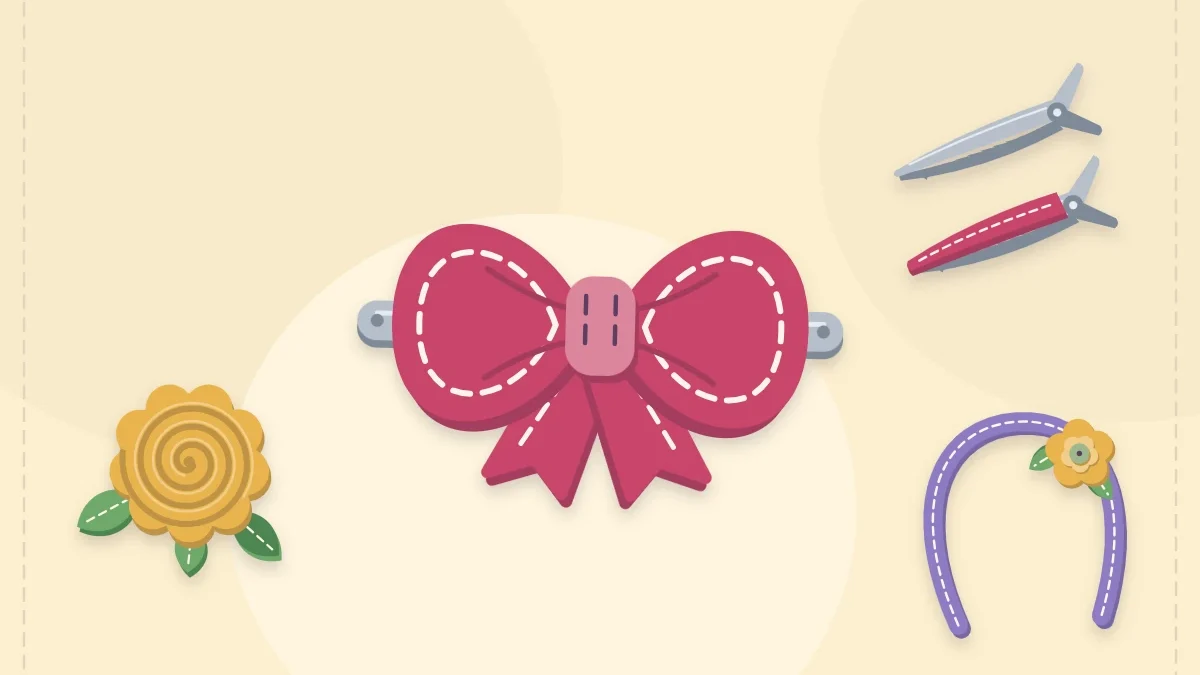
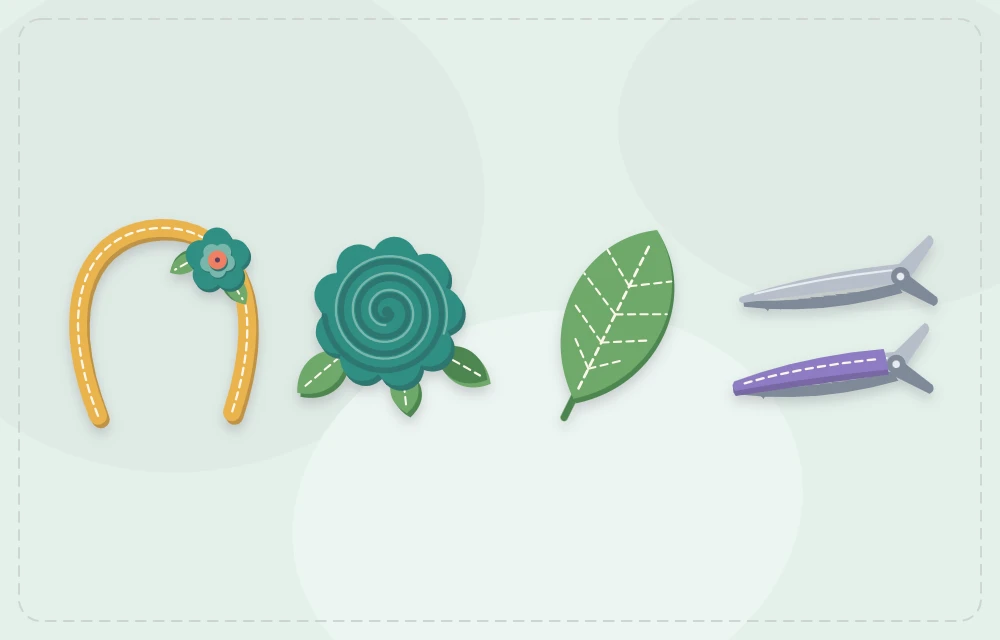
Three felt hair accessories from ruled rectangles and traced shapes: a pleated bow on an alligator clip, a lined snap-clip cover and a flower headband, each attached so the hardware cannot peel away.
Project kit
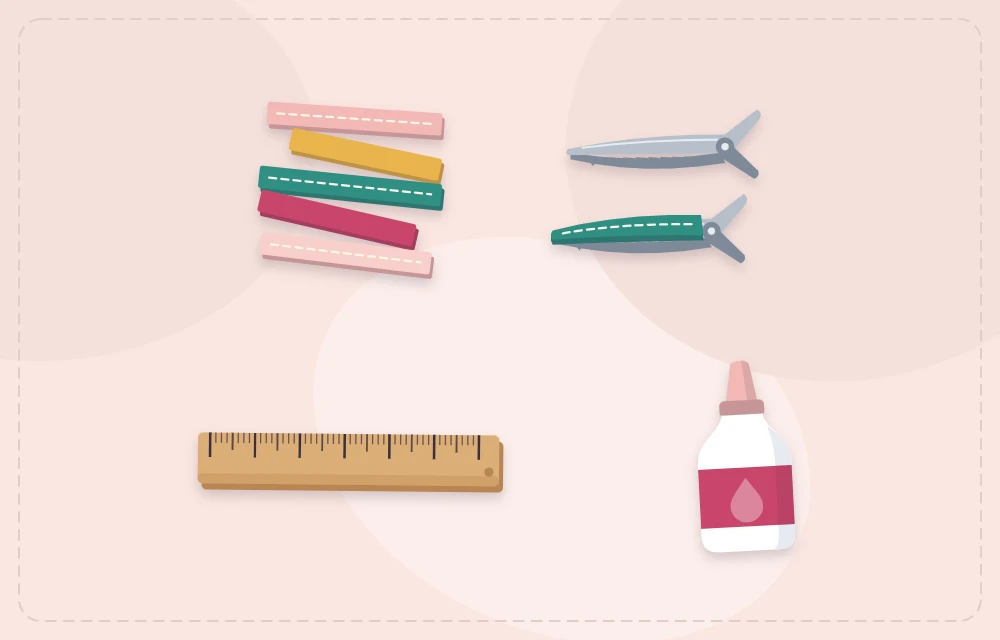
Materials
- Wool-blend felt in 2 or 3 colors
- Single-prong alligator clips, about 1 3/4 in (4.5 cm)
- Metal snap clips, about 2 in (5 cm)
- Plain headband, 3/8 to 1/2 in (1 to 1.3 cm) wide
- Embroidery floss and embroidery needle
- Tacky craft glue or fabric glue
- Scissors, ruler and disappearing fabric pen
- Small clips or clothespins
The weak point of most handmade felt hair accessories is not the felt. It is the join between soft felt and hard metal or plastic, where a dot of glue is asked to resist being pulled, twisted and clipped shut dozens of times. Solve that join and the rest is simple cutting and a few stitches.
The three pieces here, a bow on an alligator clip, a covered snap clip and a flower headband, each use a mechanical hold as well as glue: the hardware is wrapped, threaded through a slit or sandwiched between layers, so the felt cannot simply peel away.
What You Need
- Wool-blend felt in two or three colors
- Single-prong alligator clips, about 1 3/4 in (4.5 cm) long
- Metal snap clips, about 2 in (5 cm) long
- A plain headband, 3/8 to 1/2 in (1 to 1.3 cm) wide
- Embroidery floss and an embroidery needle
- Tacky craft glue or fabric glue; hot glue is optional
- Scissors, a ruler, a disappearing fabric pen, and small clips or clothespins for holding glued parts
Tacky glue and hot glue behave very differently on felt and metal. The comparison in the no-sew felt projects guide will help you pick one for the hardware you have.
Felt Bow on an Alligator Clip
Cut
- Bow: one rectangle 4 x 2 in (10 x 5 cm)
- Center band: one strip 1/2 x 2 1/4 in (1.3 x 5.5 cm)
- Clip liner: one strip 3/8 x 1 3/4 in (1 x 4.5 cm)
Assemble
- Line the clip. Glue the liner strip along the top of the upper prong and let it set. Felt bonds to felt far better than felt bonds to bare metal, so this gives the bow a surface to grip.
- Pleat the bow. Fold the rectangle in half lengthwise, then fold each long edge back toward the outside, making a small accordion in the middle. Pinch it firmly.
- Bind the middle. Wrap floss around the pinched center five or six times, pull tight and knot. The two loops of the bow should fan out on either side.
- Thread the clip through the band. Hold the bow on top of the lined prong. Wrap the center band around both the bow and the upper prong, so the prong passes through the band like a belt through a loop.
- Close the band. Overlap the band ends underneath, between the two prongs, and whip stitch them together. Add a small dot of glue under the bow where it meets the liner.
- Let it cure. Leave the clip open on a pencil or the edge of a card until the glue is fully dry.
Because the band encircles the prong, the bow stays on even if the glue eventually gives way.
Lined Snap-Clip Cover
Lay a closed snap clip on paper and trace around it, then draw a second line 1/8 in (3 mm) outside the first. Cut on the outer line. Use this paper shape to cut two felt pieces.
- Decorate the front. Stitch a small shape or a row of French knots on one piece while it is still flat.
- Cut the slit. On the other piece, the lining, mark a slit across the wide end about 1/4 in (6 mm) in from the edge and just as wide as the clip’s base. Cut it with the tips of small scissors.
- Insert the clip. Open the snap clip and slide its lower bar through the slit from the wrong side, so the outer frame sits on top of the lining and the bar that grips the hair is underneath.
- Add the front. Spread a thin layer of glue over the metal frame and lay the decorated piece on top, edges matching.
- Stitch the edge. Whip stitch or blanket stitch around the outside, joining front and lining and enclosing the frame. Snap the clip shut a few times to check that nothing catches.
Tip
Keep glue away from the hinge end of a snap clip. A drop in the wrong place stops the clip from flexing and it will no longer snap.
Flower Headband Variation
Make three small flowers. Rolled felt roses cut from circles 3 in (7.5 cm), 2 1/2 in (6.5 cm) and 2 in (5 cm) across make a good graded group, and the flat constructions in the felt flowers tutorial sit lower against the head if you prefer less height. Add two leaves, each cut as a pointed oval about 1 1/4 in (3 cm) long.
- Cut two base ovals. Each should be about 2 1/2 x 1 in (6.5 x 2.5 cm).
- Build the cluster. Stitch or glue the leaves and flowers to one oval, largest flower in the middle, letting them overhang the edges so the base is hidden.
- Sandwich the band. Hold the decorated oval on the outside of the headband, about 2 in (5 cm) above where the band will sit over the ear. Glue the second oval to the inside of the band, directly underneath.
- Stitch the ovals together. Whip stitch the two ovals to each other along both long edges, above and below the band. The band is now trapped between them.
Attaching Hardware Securely
| Hardware | Mechanical hold | Glue’s job |
|---|---|---|
| Alligator clip | Center band wrapped around the prong | Stops the bow from sliding |
| Snap clip | Bar through a slit, frame stitched inside | Keeps the front layer flat |
| Headband | Two ovals stitched around the band | Holds position while sewing |
Whichever glue you use, give it the full drying time before the first wear. Tacky glue that feels dry on the surface can still be soft underneath.
Watch out
Hot glue causes burns, so keep fingers clear and supervise children. Clips, beads and buttons are small parts and a choking hazard; these accessories are not for children under 3.
More Ideas and Care
Any small flat motif can replace the bow on an alligator clip: a star, a cloud, a pair of leaves. The layered designs used for felt brooches transfer directly; swap the pin back for a lined clip and stitch the backing circle around the prong.
Felt picks up hair and lint, so lift it off with a piece of tape. Spot clean with a damp cloth, avoid soaking the metal parts, and store bows flat or clipped to a ribbon so the loops are not crushed.
Frequently asked questions
How do you keep a felt bow from falling off a clip?
Wrap the bow's center band around the upper prong of the clip and stitch the band closed underneath, then add glue. The band holds the bow mechanically even if the glue weakens.
Which glue works for felt on metal hair clips?
Tacky craft glue, fabric glue and hot glue can all be used. Gluing a strip of felt to the clip first helps, because felt bonds to felt better than to bare metal.
Can felt hair accessories get wet?
A little damp will not ruin them, but they should not be soaked. Spot clean with a damp cloth and let them dry flat, keeping water away from the metal parts.
Are felt hair clips safe for babies?
No. Clips and any beads or buttons are small parts and a choking hazard, so these accessories are not suitable for children under 3.