Felt Brooches: A Layered Flower Pin With a Neat Hidden Back
Make a layered felt flower brooch from traced circles, fill the center with French knots or beads, and sew the pin to a backing circle so every joining stitch stays hidden.
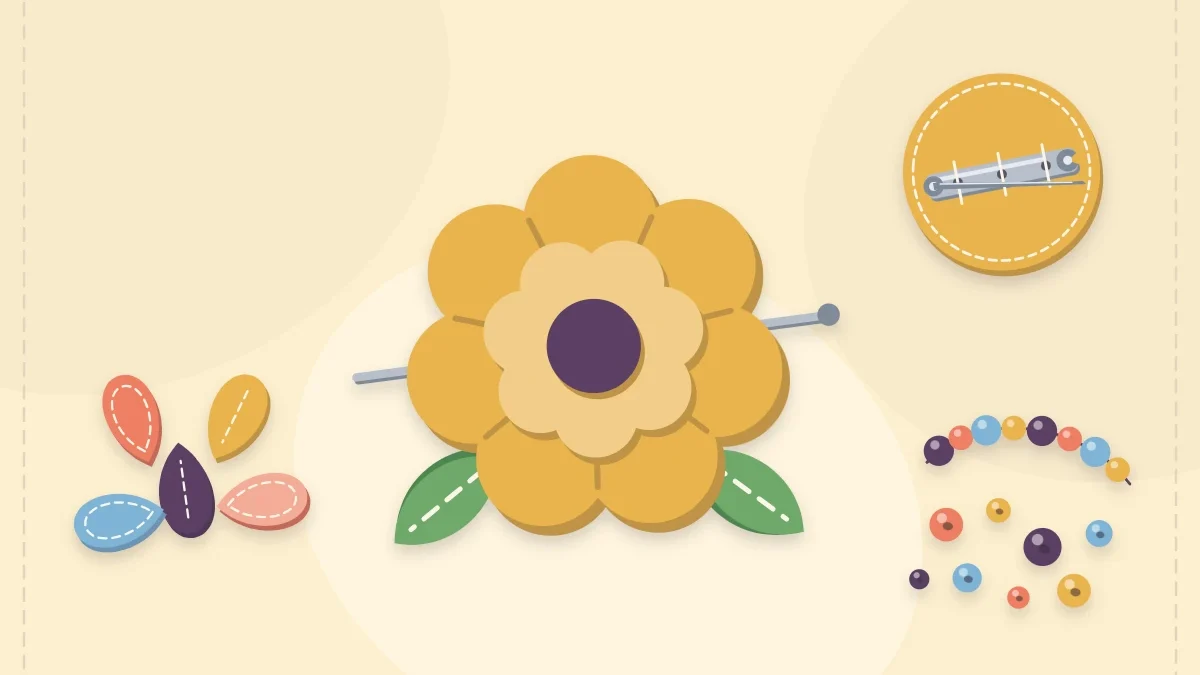
Project kit
Materials
- Wool-blend felt in 3 colors
- Bar pin back, about 1 in (2.5 cm)
- Embroidery floss in matching and contrast colors
- Embroidery needle and a finer needle for beads
- Seed beads (optional)
- Small sharp scissors
- Disappearing fabric pen
- Paper, pencil and round objects to trace
A plain coat lapel, a knitted hat or a canvas tote can all carry a small piece of color, and felt brooches are one of the easiest ways to add it. Felt is light enough that the pin does not drag on fabric, and it does not fray, so even tiny layered pieces can be cut and stacked without hemming.
This project builds a layered flower from circles you trace yourself, finishes the center with French knots or beads, and hides the pin stitches behind a backing circle so the reverse looks as tidy as the front.
What You Need
- Wool-blend felt in three colors: two for the petals and one for the center and backing
- A bar pin back, about 1 in (2.5 cm) long
- Embroidery floss in a matching and a contrasting color
- An embroidery needle, plus a finer needle if you plan to use beads
- Seed beads (optional)
- Small sharp scissors and a disappearing fabric pen
- Paper, a pencil, a drinking glass and two smaller round objects to trace
Thread choice matters more than usual on something this small. Two strands of floss are enough for the joining stitches; the guide to needle and thread for felt explains how strand count changes the look of a stitch.
Draw and Cut the Layers
Every piece starts as a circle on paper. Trace, cut the paper shape, then use it to cut the felt.
| Piece | Circle size | Shaping |
|---|---|---|
| Outer petals | 2 1/2 in (6.5 cm) | 6 scallops |
| Inner petals | 1 3/4 in (4.5 cm) | 5 scallops |
| Center | 3/4 in (2 cm) | Plain circle |
| Backing | 1 1/2 in (4 cm) | Plain circle |
To make scallops, fold the paper circle in half and then into equal wedges, three for the outer layer, and crease lightly. For five petals, mark the divisions by eye instead; small differences disappear once the layers are stacked. Round off the outer edge of each wedge and snip a short notch, about 1/4 in (6 mm) deep, between petals. Leave the middle of the circle solid so the layer stays in one piece.
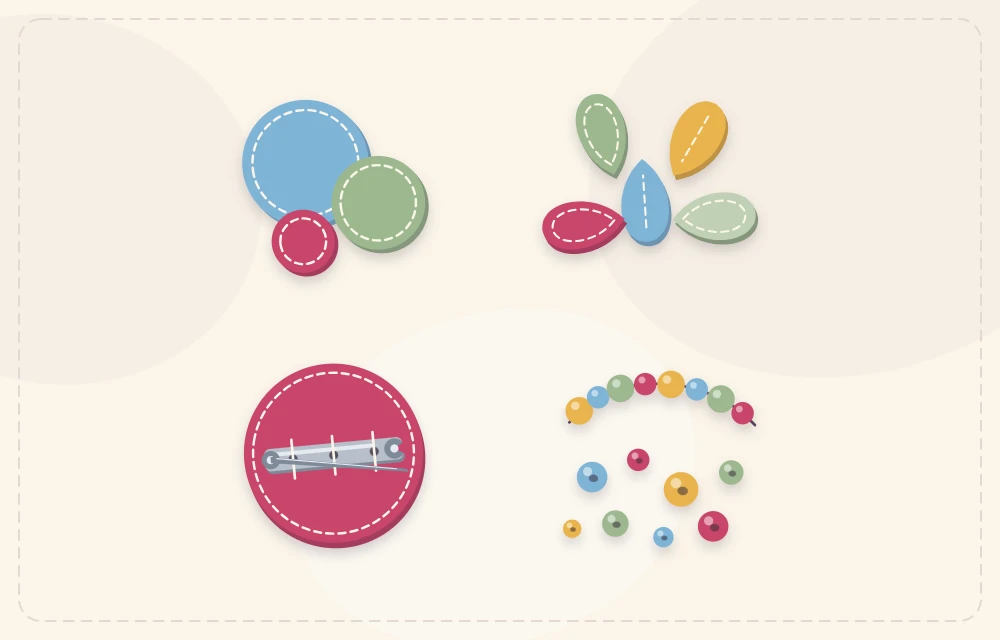
How to Make Felt Brooches Step by Step
- Stack the petals. Center the inner petal layer on the outer one and turn it until its petals sit over the notches below. Place the small center circle on top.
- Fix the stack. With two strands of floss and the knot hidden under the bottom layer, make three or four small stitches through the middle of all three layers. The stack should no longer shift.
- Fill the center. Cover the center circle with French knots: bring the needle up, wrap the floss around it twice, and go back down a thread’s width from where you came up, holding the wraps snug as you pull through. Seven to nine knots fill a circle this size. For beads, sew each one on separately and pass the thread through it twice.
- Add petal lines. If you like, work one straight stitch along the middle of each inner petal, running from the center outward. Use a single strand so the line stays fine.
- Sew the pin to the backing. Open the pin and lay the bar across the backing circle, slightly above the middle. Stitch through each hole in the bar four or five times, then take several stitches over the bar between the holes. Knot firmly on the wrong side.
- Attach the backing. Place the backing on the reverse of the flower with the pin’s hinge on the left or right, not top or bottom. Whip stitch around the edge of the backing, catching only the back petal layer so no stitches show on the front.
- Check the front. Turn the brooch over, lift each petal slightly with a fingertip to separate the layers, and trim any thread tails.
Tip
Setting the pin a little above the center of the brooch stops it from tipping forward when worn. If the bar sits too low, the top of the flower leans away from the fabric.
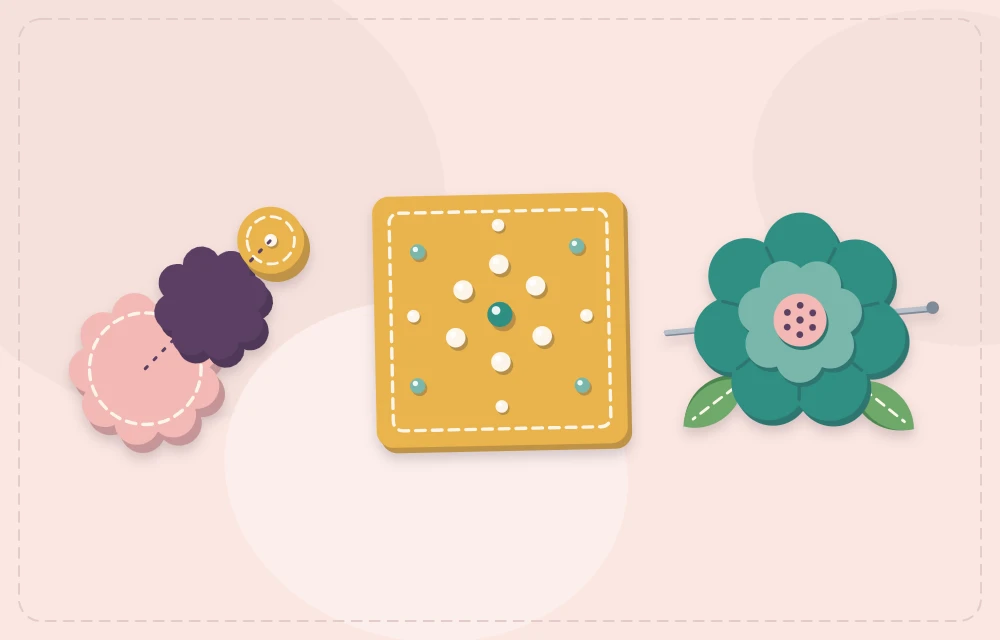
Simple Shape Brooches
The same backing-and-pin method works for any small motif. Cut a base shape about 2 in (5 cm) across, such as a cloud, leaf, star or heart, then cut the same shape about 1/4 in (6 mm) smaller in a second color and stitch it on top. This is a miniature version of felt applique, and a running stitch just inside the edge of the top layer is all the decoration it needs.
Other ideas that use only basic shapes:
- A leaf with a backstitched center vein and short side veins
- A cloud with three raindrop shapes hanging from short lengths of floss
- A crescent moon on a dark circle with French knot stars
- A mushroom cap with a scatter of pale knots
For more petal constructions that can sit on a brooch backing, see the three methods in the felt flowers tutorial.
Fixing Common Problems
The brooch flops. Thin felt bends under its own weight. Add a second backing circle, or cut the backing from stiffened felt.
French knots pull through. The needle went back down the same hole it came up. Leave a tiny gap between the two points so the knot has felt to sit on.
The pin bar wobbles. Stitches only through the end holes let the bar rock. The extra stitches over the bar hold it flat.
Backing stitches show on the front. The needle is passing through every layer. Angle it shallowly so it picks up only the surface of the back petal layer.
Wearing and Care
Felt brooches sit best on fabrics with some body: wool coats, denim jackets, knitwear, scarves, hat bands and bag straps. On fine or delicate fabrics a pin can leave visible holes, so choose the spot carefully or pin through a seam.
Take the brooch off before a garment is washed. Lift dust with a piece of tape, spot clean with a damp cloth if needed, and store it flat so the petals keep their shape.
Watch out
A brooch has a sharp pin and may carry beads, which are a choking hazard. It is not suitable for children under 3 and should not be given to a child as a toy.
Frequently asked questions
Where should the pin back go on a felt brooch?
Sew it slightly above the center of the backing circle, with the bar running side to side. A pin placed too low lets the top of the brooch tip forward.
Can a pin back be glued to felt?
Glue can help hold it in position, but stitching through the holes in the bar is what keeps it secure. Covering those stitches with a backing circle gives a clean reverse.
How do you stop a felt brooch from flopping?
Use a denser felt, add a second backing circle, or cut the backing from stiffened felt. Keeping the brooch under about 3 in (7.5 cm) across also helps.
Are beads or French knots better for the center?
French knots are soft, flat and made from floss you already have. Beads add shine but are small parts, so they need to be sewn on one at a time with the thread passed through twice.