Felt Crafts for Beginners: Where to Start and What to Make First
A plain starting point for felt crafting: the small kit worth buying, the three skills that carry most projects, and a five-project path that builds them in order.
Felt is one of the most forgiving materials a new crafter can pick up. It does not fray, so there are no hems to turn and no raw edges to finish. It holds its shape when cut, takes glue and stitches equally well, and comes in small sheets that are easy to store in a drawer. That is why felt crafts for beginners make such a good starting point: a first project can be cut and finished in one sitting, with tools that fit in a pencil case.
This page is the starting line. It covers what felt crafting actually involves, the smallest kit worth buying, the three skills to learn first, and a path of five projects that builds those skills in a sensible order.
What Felt Crafting Involves
Almost every felt project follows the same four stages. A shape is drawn on paper, the shape is cut from felt, the pieces are joined with stitches or glue, and the edges and threads are tidied. A coaster, a stuffed star and a flower brooch all come from that same sequence. Only the shapes and the number of layers change.
Because felt is a pressed, matted fabric rather than a woven one, it has no grain direction to worry about and no right or wrong side on most sheets. Pieces can be turned any way to fit on a sheet, which keeps waste low and makes planning simple.
The Minimal Kit for Felt Crafts for Beginners
A long shopping list is the quickest way to stall before starting. The first five projects on this page need only the items below.
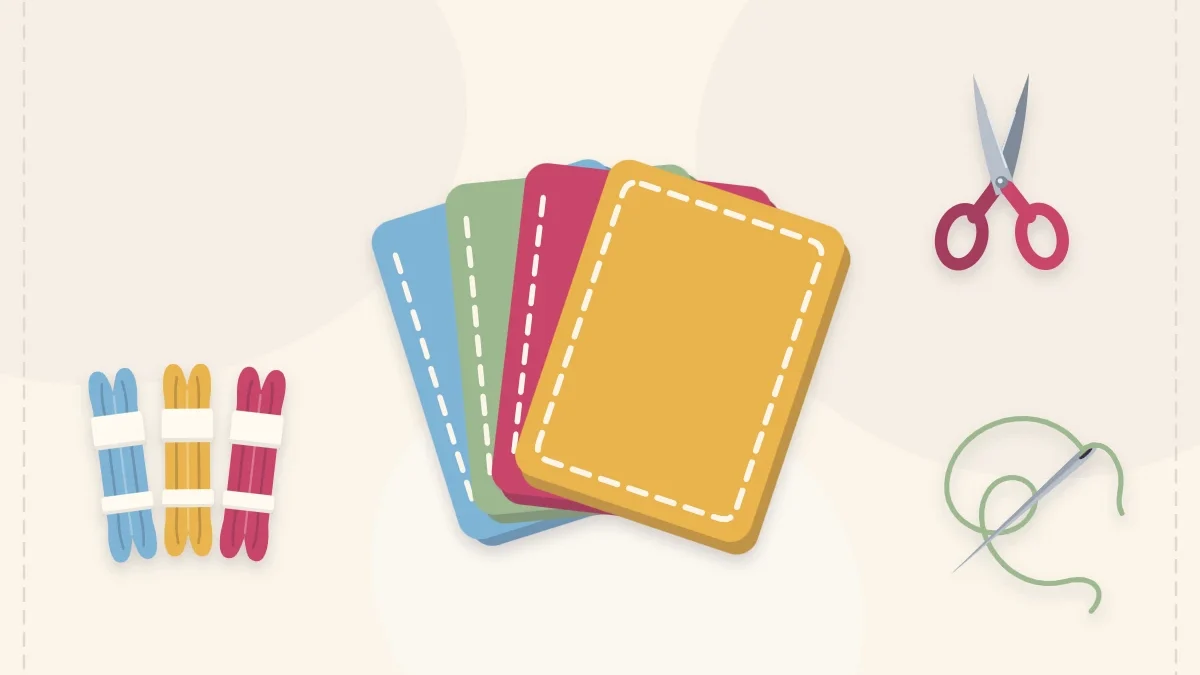
- Felt: four to six sheets, 9 x 12 in (23 x 30 cm), in colors that look good together. Wool-blend felt cuts cleaner than thin acrylic craft felt, but either works for practice. The guide to the main types of felt explains the differences.
- Scissors: one sharp pair kept for fabric only, plus a small pointed pair for tight curves if the budget allows.
- Needles: a mixed pack of embroidery needles. Their longer eye makes threading floss far easier.
- Embroidery floss: three or four skeins, including one that matches the felt and one that contrasts.
- Pins: a handful of straight pins to hold layers together.
- Marking and measuring: a ruler, a pencil, plain paper for templates and an erasable fabric pen.
- Glue: a bottle of tacky craft glue for the pieces that are not sewn.

Stuffing, buttons, ribbon and hardware such as keyrings can wait until a project calls for them.
Watch out
Needles, pins and sharp scissors need adult supervision when children are crafting. Buttons, beads and other small parts are a choking hazard, so projects that include them are not for children under 3.
The Three Skills to Learn First
Felt crafting has a short learning curve because only three skills carry most of the work. Practicing each one on scraps before starting a real project pays off straight away.
1. Cutting a clean shape
The cut edge is the finished edge, so cutting matters more in felt than in almost any other fabric craft. Use the deep part of the blades rather than the tips, make long smooth closes instead of small snips, and turn the felt into the scissors on curves instead of turning the hand. A paper template pinned or held on top gives a line to follow. The full method, including circles and inside cuts, is in the guide on how to cut felt cleanly.
2. One reliable stitch
Start with the running stitch: the needle goes down and comes up in a straight dashed line, about 1/8 in (3 mm) from the edge. It joins two layers, decorates a single layer and teaches even spacing, which every later stitch depends on. Use two or three strands of floss, cut no longer than the distance from fingertips to elbow, and hide the starting knot between the layers. The fundamentals of hand sewing felt cover threading, knotting and ending off in detail. Whip stitch and blanket stitch can follow once the running stitch looks regular.
3. Finishing
Finishing is what separates a project that looks homemade from one that looks handmade. It means ending the thread with a small knot buried between layers, trimming thread tails close, snipping away any slivers where two layers do not quite match, and removing pen marks. A piece of tape pressed lightly over the surface lifts lint and loose fibers.
Tip
Keep a small bag for offcuts. Scraps are perfect for testing stitch spacing, checking how a glue dries and cutting tiny details such as leaves and flower centers.
A First Five Projects Path
These five projects are ordered so that each one adds a single new idea to what came before.
- Round coasters. Two circles traced around a glass and joined around the edge. This is pure practice in cutting a curve and keeping stitches even.
- Corner bookmark. A square and a triangle stitched on two sides. It introduces straight cuts, measured pieces and turning a corner with the needle.
- Circle garland. A batch of identical shapes fixed along a cord. Cutting the same shape twenty times builds speed and consistency faster than anything else.
- Gift tag with a layered shape. A small heart or star attached on top of a tag. This is the first taste of applique, where one piece of felt is fixed onto another.
- Stuffed ornament. Two matching shapes stitched together, filled lightly and closed. It adds stuffing and a hanging loop, and opens the door to felt animals and other three-dimensional pieces.

Anyone who prefers to choose by available time can browse the roundup of easy felt projects, which groups ten ideas by how long they take and which skill each one teaches.
Habits That Make Early Projects Go Smoothly
- Draw on paper first. A paper template can be adjusted, folded to check symmetry and reused. Felt cannot be un-cut.
- Cut matching pieces together. Pin two layers and cut both at once so the edges line up when stitched.
- Stop when the thread runs short. End off with at least 3 in (8 cm) left on the needle rather than struggling with the last stitch.
- Keep felt away from heat. Acrylic craft felt can melt under a hot iron, and felt decorations belong well away from candles.
Where to Go After the Basics
Once cutting, one stitch and clean finishing feel comfortable, the next steps follow naturally. Learn a second edge stitch for a more decorative border, try layering shapes into flowers, or move on to small sewn items such as pouches and keychains. Each of these uses the same four stages described above, with one extra technique added on top.
Frequently asked questions
What kind of felt is best for a first project?
Wool-blend felt is the easiest to cut cleanly and stitch neatly. Acrylic craft felt is thinner and fuzzier at the edges, but it is fine for practice pieces and for testing a template.
Do I need a sewing machine for felt crafts?
No. Small felt projects are sewn by hand with a needle and embroidery floss, and many can be made with glue alone.
Does felt fray when it is cut?
No. Felt is made of matted fibers rather than woven threads, so a cut edge stays as it is and needs no hem.
Which stitch should a beginner learn first?
The running stitch. It is a simple in-and-out line that joins layers, decorates edges and teaches the even spacing that whip stitch and blanket stitch rely on later.