Felt Animals: Sew a Stuffed Whale, Owl and Fox From Simple Shapes
Sew small stuffed felt animals from shapes you draw yourself. A simple whale teaches the method, then an owl and a fox follow, all with stitched faces and no small parts.
Project kit
Materials
- Wool-blend or craft felt in a body color
- Felt scraps in a lighter color for belly and details
- Embroidery floss to match, plus a dark color for faces
- Embroidery needle and pins
- Polyester fiberfill
- Paper, pencil, ruler and a glass about 3 in (7.5 cm) across
- Sharp scissors and small scissors
Small stuffed felt animals look complicated until you notice that most of them are one rounded body with a few flat pieces added. A whale is the friendliest place to start: it has no legs, no neck and no narrow parts to turn or stuff, and the whole shape can be drawn with a drinking glass and a ruler.
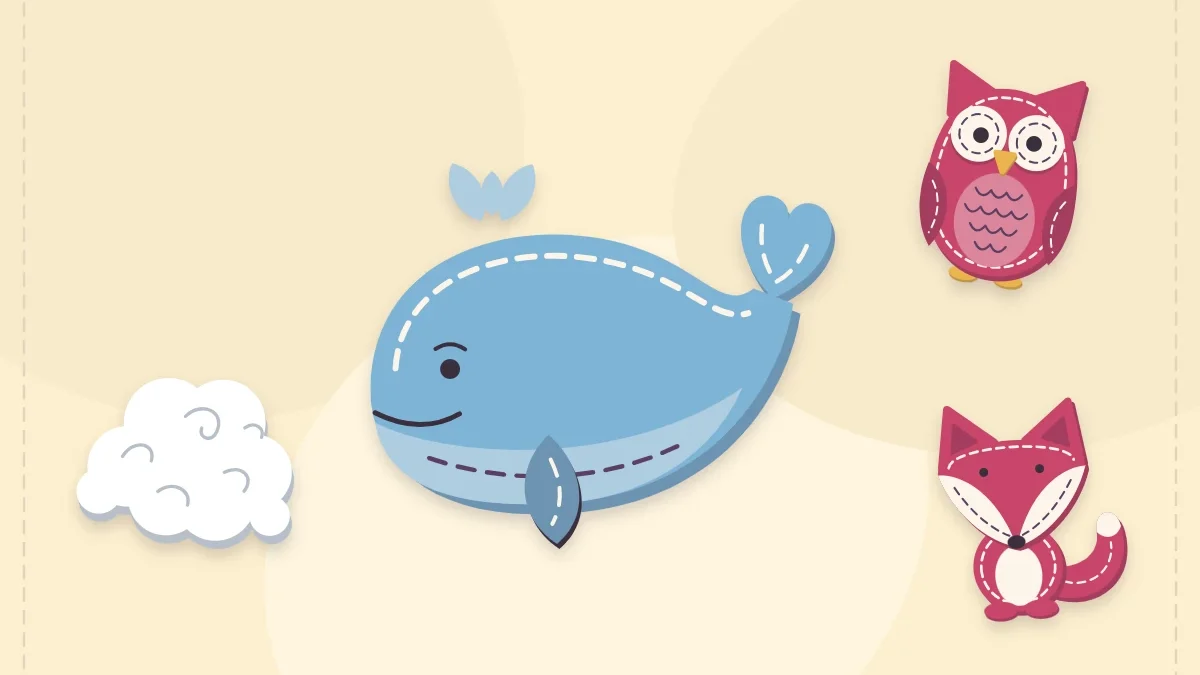
The whale below finishes at about 5 in (13 cm) long. Once it is done, the same cut-two, stitch, stuff and close method makes an owl and a fox, both described further down from basic shapes you draw yourself.
What You Need
- Wool-blend felt or craft felt in a body color, about half of a 9 x 12 in (23 x 30 cm) sheet
- A scrap of lighter felt for the belly, roughly 5 x 2 in (13 x 5 cm)
- Embroidery floss to match the body, plus a dark color for the face
- An embroidery needle and a few pins
- Polyester fiberfill, a small handful
- Paper, pencil, ruler and a glass about 3 in (7.5 cm) across
- Sharp scissors, plus small scissors for the fin and tail

Draw and Cut the Whale Pieces
Everything starts from one rectangle. On paper, rule a box 5 in wide and 3 in tall (13 x 7.5 cm). Set the glass inside the left end so it touches the top, bottom and left side, and trace the left half of the circle. That curve is the whale’s head.
From the top of the curve, draw a gentle line that slopes down to the right and ends about 1 in (2.5 cm) above the bottom right corner. From the bottom of the curve, draw a nearly flat line that rises slightly to meet it, and round the point where they join. The result is a fat teardrop lying on its side.
- Body: cut 2 from the body color.
- Belly: trace the bottom third of the body template, about 1 in (2.5 cm) deep, and cut 1 from the lighter felt.
- Tail: fold a 2 in (5 cm) paper square in half and cut half a heart on the fold. Cut 1 from the body color.
- Fin: a leaf shape about 1 1/4 in (3 cm) long. Cut 1.
If drawing freehand feels uncertain, the guide to making your own felt templates shows how to refine a shape on folded paper before any felt is cut.
How to Sew Felt Animals: The Whale Step by Step
- Attach the belly. Pin the belly piece to one body piece, lower edges matching. Sew along its top edge only with small whip stitches in two strands of floss. The outer edges will be caught in the seam later.
- Stitch the face. About 1 in (2.5 cm) in from the head and just above the belly, sew the eye in dark floss. A short curve of three backstitches makes a sleeping eye; a French knot makes an open one.
- Add the fin. Place the fin on the belly line near the middle of the body, pointing toward the tail. Stitch only the front half so the tip stays free. This is the simplest form of felt applique.
- Position the tail. Lay the plain body piece down. Set the point of the heart about 3/8 in (1 cm) onto the narrow end, lobes sticking out. Lay the decorated body on top, edges matching, and pin through all three layers.
- Sew around the body. Start at the tail, where the knot can hide between the layers. Work blanket stitch or whip stitch around the outline, about 1/8 in (3 mm) from the edge, taking two or three stitches right through the tail.
- Stop for stuffing. When about 1 1/2 in (4 cm) of the back remains open, park the threaded needle in the felt.
- Stuff in small tufts. Push pinches of fiberfill into the head first, then the tail end, then the middle. The whale should feel springy, with the seam lying flat.
- Close and finish. Continue the same stitch across the gap, knot against the felt, run the needle through the body and out the other side, and snip the thread close so the end disappears inside.
Tip
Do every flat detail first. Faces, bellies and fins are far easier to stitch on a single flat layer than on a stuffed shape.
Two More Animals From Basic Shapes
Owl
Trace the glass for a 3 in (7.5 cm) circle, then stretch it into an egg about 3 3/4 in (9.5 cm) tall by drawing the top half slightly narrower. At the top, dip the outline into a shallow V so two soft ear tufts appear at the corners. Cut 2 bodies. For the front, cut an oval belly 2 x 1 3/4 in (5 x 4.5 cm), two eye circles 1 in (2.5 cm) across traced around a coin or bottle cap, two smaller dark circles, a triangle beak 1/2 in (1.2 cm) wide and two leaf-shaped wings 2 in (5 cm) long. Sew everything to the front piece, then join and stuff like the whale.
Fox
Rule a triangle 4 in (10 cm) wide across the top and 3 1/2 in (9 cm) tall, point down, and round all three corners generously. Add two ear triangles 1 in (2.5 cm) wide to the top corners as part of the same outline, so the head and ears are one piece. Cut 2 in orange. For the cheeks, cut two white teardrops about 1 3/4 in (4.5 cm) long and angle them so their points meet at the nose. Stitch a small dark nose and two short lines for sleepy eyes.
Faces Without Small Parts
Every face here is made of felt and thread only. Stitched eyes, felt circles sewn down all the way around, and embroidered noses cannot pop off the way glued-on eyes, beads or buttons can. Buttons, beads and safety eyes are a choking hazard, so leave them off anything a child under 3 might handle.
Watch out
Even with a stitched face, a handmade felt animal is a decoration and keepsake, not a tested toy. Check the seams from time to time, and supervise children who are sewing with needles and scissors.
Troubleshooting and Ways to Use Them
- Lumpy body: the stuffing went in as one large wad. Refill with small tufts, as shown in the guide to stuffing felt projects.
- Puckered seam: the stitches are too tight or the animal is overfilled. Ease the tension and remove a little filling.
- Layers do not match: the felt stretched while cutting. Pin the layers and trim them together before sewing.
Slip a folded ribbon loop into the top seam before closing and any of the three becomes a hanging decoration, like stuffed felt ornaments. To care for them, brush off lint and spot clean with a barely damp cloth.
Frequently asked questions
What is the easiest felt animal for a beginner?
A whale, fish or other animal with one rounded body and no legs. There are no narrow parts to stuff, and the outline can be sewn in a single pass.
How do I make eyes without buttons or beads?
Stitch them. A French knot makes a round open eye and a short curve of backstitch makes a sleeping eye. Small felt circles sewn down all the way around also work.
Which stitch should I use to close a stuffed felt animal?
Blanket stitch gives a decorative edge and whip stitch is faster and less visible. Either works, as long as the stitches are small and about 1/8 in (3 mm) from the edge.
Can I make the animals bigger?
Yes. Draw the starting rectangle larger and keep the same proportions. Larger animals need more stuffing and slightly closer stitches so the filling does not show through the seam.