Felt Pouch: A Fold-Over Design From One Rectangle
Sew a fold-over felt pouch from a single rectangle with two side seams and a button or snap closure, using a sizing table and a simple formula to fit glasses, earbuds, cards or coins.
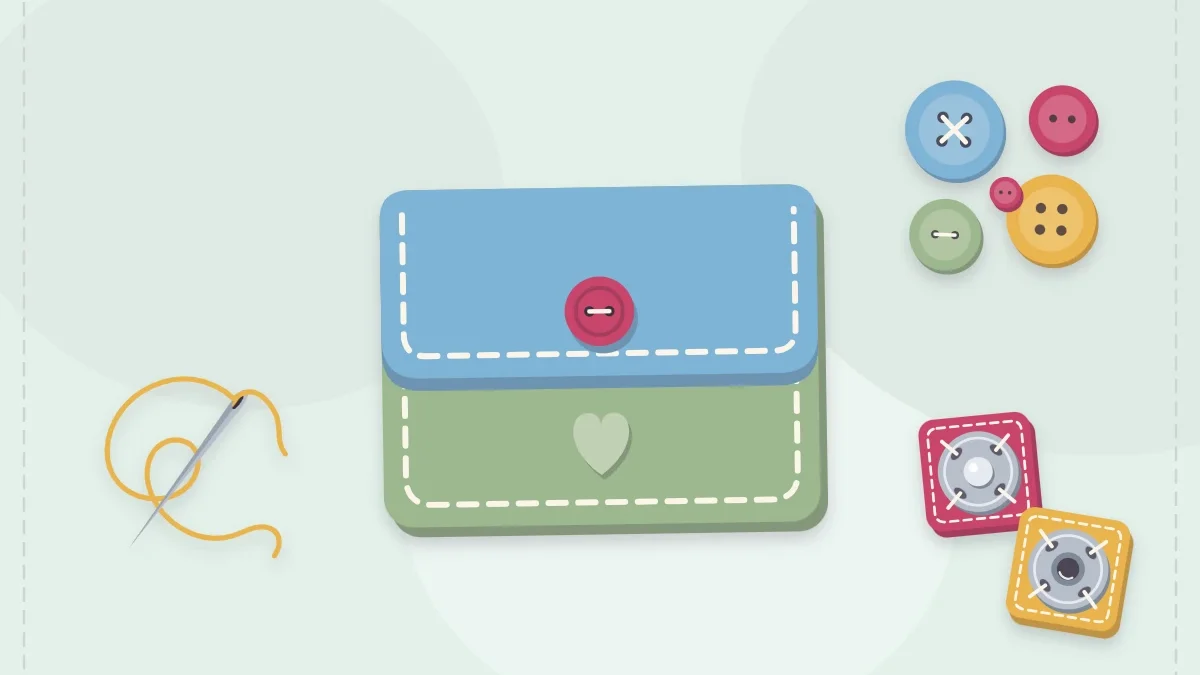
Project kit
Materials
- Wool-blend felt, 1 sheet
- Embroidery floss
- Embroidery needle
- 1 button, about 5/8 in (1.5 cm), or 1 sew-on snap
- Scissors and ruler
- Disappearing fabric pen
- Pins or small clips
- A coin for rounding corners
One rectangle, one fold and two short seams: a felt pouch is about as simple as sewn storage gets. There is no lining to fit, no zipper to set and no raw edge to hem, because felt does not fray. The whole project is a matter of measuring carefully and stitching two straight lines.
That simplicity also makes it easy to resize. The same construction holds earbuds, coins, cards or a pair of glasses; only the dimensions of the rectangle change, and the sizing table below gives a starting point for each.
What You Need
- Wool-blend felt, one sheet 9 x 12 in (23 x 30 cm); choose a thicker felt if you have the option
- Embroidery floss in a matching or contrasting color
- An embroidery needle
- One button about 5/8 in (1.5 cm) across, or one sew-on snap
- Scissors, a ruler and a disappearing fabric pen
- Pins or small clips
- A coin for rounding corners
Thin acrylic craft felt makes a floppy pouch that stretches at the opening. If that is what you have, cut two rectangles and treat them as one layer, stitching them together around the edge as you go. For the seams, three strands of floss give a visible, sturdy stitch; the guide to needle and thread for felt covers other options.
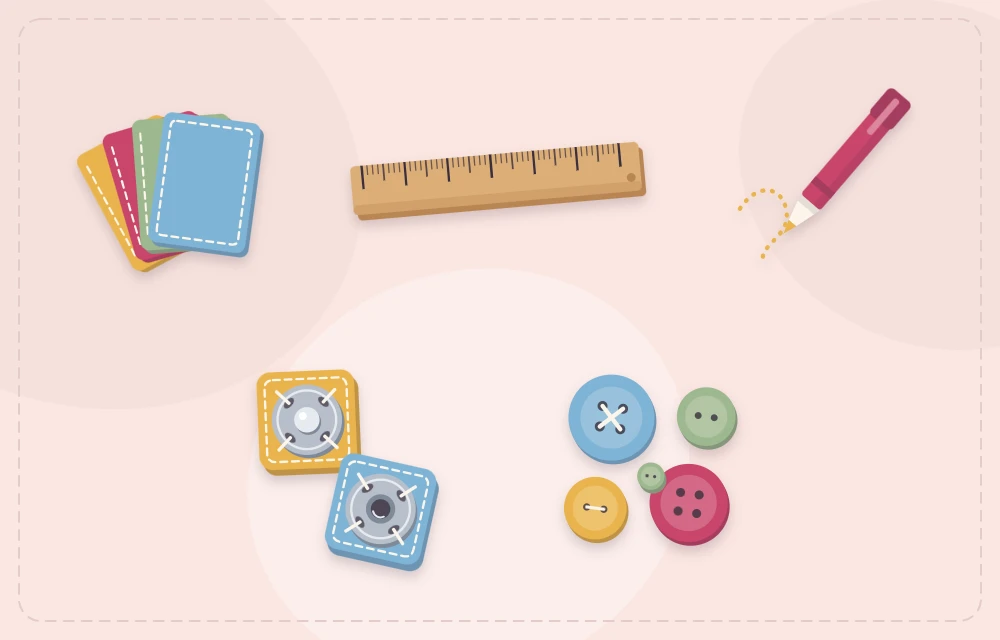
Sizing Your Felt Pouch
The rectangle has three zones along its length: the pocket back, the pocket front and the flap. Its width is the finished width of the pouch.
| Holds | Cut rectangle | Pocket depth | Flap |
|---|---|---|---|
| Earbuds or coins | 3 1/2 x 7 in (9 x 18 cm) | 2 3/4 in (7 cm) | 1 1/2 in (4 cm) |
| Cards or folded notes | 4 1/2 x 8 in (11.5 x 20 cm) | 3 in (7.5 cm) | 2 in (5 cm) |
| Glasses | 7 x 9 in (18 x 23 cm) | 3 1/2 in (9 cm) | 2 in (5 cm) |
For anything else, measure the item and work it out:
- Width = item width + 1 in (2.5 cm), which allows for both seams and a little ease
- Pocket depth = item height + 1/2 in (1.3 cm)
- Length = pocket depth x 2 + flap
Glasses vary a good deal, so fold yours and measure them before cutting. Bulky frames need extra width, since the pouch has no gusset and thickness uses up some of the flat measurement.
Cut and Mark
Rule the rectangle directly onto the felt with the fabric pen and cut along the lines with long, smooth strokes. At one short end, the flap end, round both corners by tracing around a coin and trimming along the curve.
Measuring from the other short end, the straight one, mark the pocket depth on both long edges. This is the fold line. Mark it again at twice the pocket depth: that is where the pocket front will reach and where the flap begins.
How to Sew the Pouch
- Attach the closure to the pocket front first. While the felt is still flat, sew the button, or the socket half of the snap, to the center of the pocket front, about 3/4 in (2 cm) below the straight short edge. Doing this now means the stitches pass through one layer only and the inside of the pocket stays clear.
- Fold and clip. Fold the straight end up along the first mark so its edge meets the second mark. Line up the side edges exactly and clip or pin them.
- Stitch the first side seam. Starting at the fold with the knot hidden between the layers, work a blanket stitch through both layers, keeping the stitches about 3/16 in (5 mm) apart and the same depth.
- Reinforce the opening. When you reach the top of the pocket, make two extra stitches in the same place. This corner takes all the strain when the pouch is opened.
- Carry on around the flap. Without cutting the thread, continue the blanket stitch along the single-layer edge of the flap, around both curved corners, and down to the top of the pocket on the other side.
- Stitch the second side seam. Reinforce the opening again, then stitch through both layers down to the fold. Knot, pass the needle between the layers and trim.
- Finish the closure. Fold the flap down and mark where it meets the button or snap, then complete it as described below.

If blanket stitch is new to you, the side seams can be joined with a whip stitch instead, leaving the flap edge plain.
Button or Snap Closure
Button
With the flap folded down, mark the center of the button on the flap. Cut a slit there, running from side to side, slightly shorter than the button is wide. Felt gives a little, so a snug slit loosens to the right size with use, while a generous one soon lets the button slip out. To strengthen it, whip stitch around the slit with two strands of floss.
Snap
Sew the ball half of the snap to the underside of the flap where it meets the socket. Those stitches will show on the outside of the flap. Cover them with a small felt circle or a decorative button stitched on top, catching only the upper surface of the felt.
Tip
Put the item in the pouch before marking the closure on the flap. A full pouch is thicker than an empty one, and the flap reaches a slightly different point.
Variations and Fixes
Pointed flap. Instead of rounding the corners, mark the center of the flap end and cut from that point to each side, 1 1/2 in (4 cm) down, for an envelope look.
Decorated front. Stitch a simple applique shape to the flap or pocket front before folding, while everything is flat.
Coins slip out at the corners. Make the flap deeper so it covers more of the pocket, and move the closure lower.
The opening has stretched. Work a line of running stitch across the top of the pocket front, through that single layer, to steady the edge.
The seams gape. The stitches are too far apart. Unpick and restitch closer together, or add a second pass between the first stitches.
Care
Spot clean with a damp cloth. A wool-blend pouch can be hand washed gently in cool water, pressed flat in a towel and dried flat, with the button or snap fastened so the shape sets correctly. Keep felt away from direct heat, and remember that acrylic craft felt can melt under a hot iron.
Buttons and snaps are small parts and a choking hazard, so a pouch with either is not for children under 3. Made in a favorite color and filled with something small, a pouch is also one of the more practical felt gift ideas.
Frequently asked questions
Does a felt pouch need a lining?
No. Felt does not fray, so the cut edges can be left as they are. If the felt is thin, cut two rectangles and stitch them together as a double layer instead of adding a lining.
How big should the rectangle be for a custom pouch?
Make the width the item's width plus 1 in (2.5 cm). Make the length twice the pocket depth plus the flap, where the pocket depth is the item's height plus 1/2 in (1.3 cm).
Which stitch is best for the side seams?
Blanket stitch gives a strong, decorative edge and can continue around the flap. Whip stitch is quicker and less visible in matching thread.
How do you make a buttonhole in felt?
Cut a single slit slightly shorter than the button's width. Felt does not fray, so it needs no binding, though a ring of whip stitches around the slit makes it last longer.
