Blanket Stitch on Felt, Step by Step
A clear guide to blanket stitch on felt: anchoring the first stitch, edging one layer, joining two, turning corners and curves, and changing thread without leaving a visible gap.
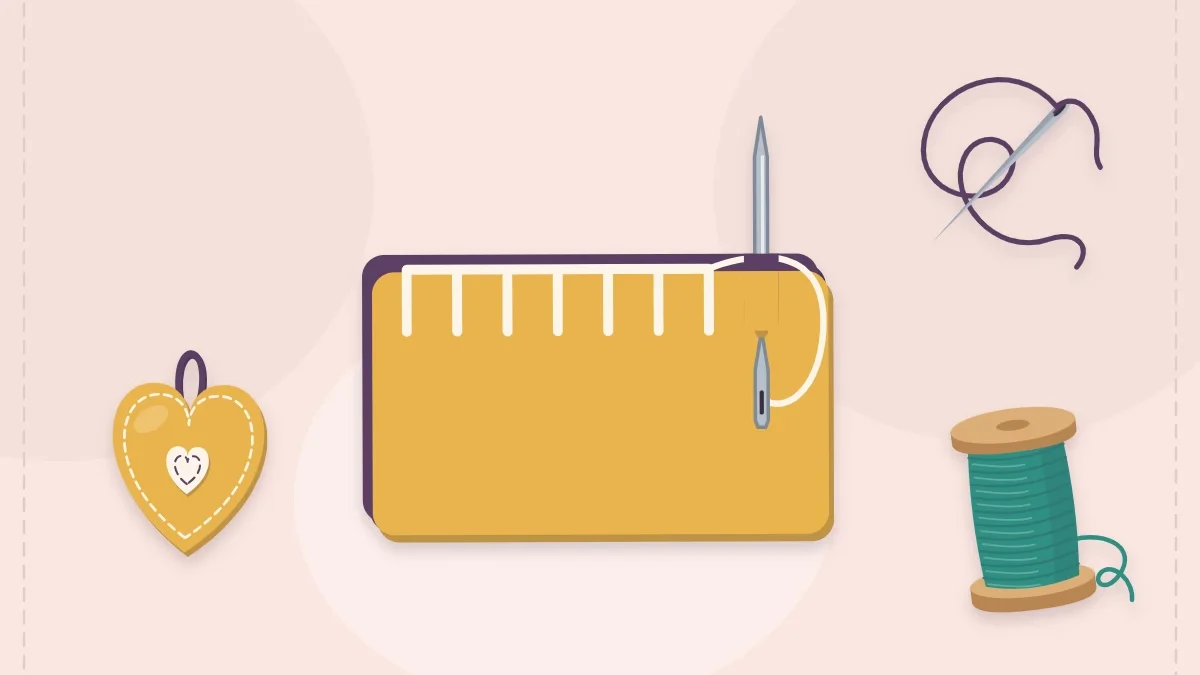
Project kit
Materials
- Craft felt or wool-blend felt
- Embroidery floss in a contrast color
- Embroidery needle
- Small scissors
- Pins
- Fabric pen and ruler (optional)
A row of small, square-cornered loops running along a felt edge is the look most people picture when they think of handmade felt. That is the blanket stitch: each stitch leaves one leg lying on the surface and one bar of thread sitting right on the cut edge, so the border is outlined and protected at the same time.
It takes a little longer to learn than a running stitch because the thread has to be caught on every stitch, but the movement never changes. Once the first six stitches lock into place, the rest of the edge is repetition.
Where Blanket Stitch Works Best
Use it wherever the edge is part of the design: coasters, bookmarks, pouch flaps, needle books and stuffed shapes such as felt ornaments. It works on a single layer as pure decoration and on two layers as a seam. On very small pieces or sharp points, a whip stitch is usually the easier and neater choice.
A good general size for felt is a leg 1/4 in (6 mm) long with stitches 1/4 in (6 mm) apart. Shrink both to 3/16 in (5 mm) on pieces smaller than 3 in (7.5 cm).
What You Need
- Two felt squares, 4 x 4 in (10 x 10 cm), plus one extra scrap
- Embroidery floss, two or three strands, in a contrast color for practice
- An embroidery needle
- Small scissors and a few pins
- A fabric pen and ruler for marking spacing (optional)
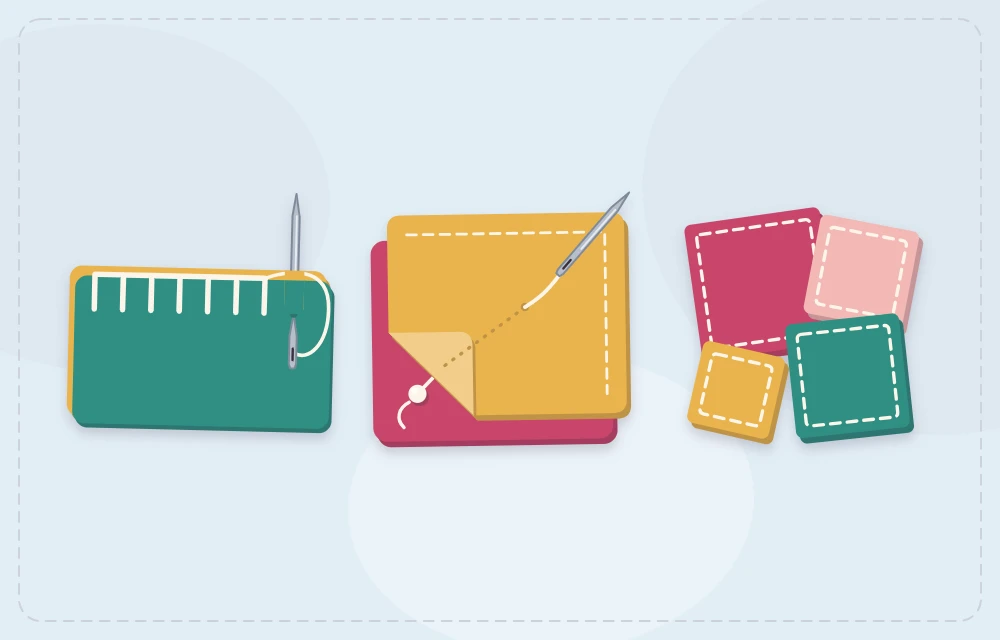
Blanket Stitch Step by Step
Start on a single edge. These steps run left to right. Left-handed stitchers can mirror them and travel right to left.
- Thread and knot. Cut about 18 in (45 cm) of floss, separate two or three strands and knot one end.
- Bring the needle up. Come up from the back to the front, 1/4 in (6 mm) in from the edge. The knot stays on the back.
- Anchor the first stitch. Take the thread over the edge and bring the needle up through the same hole again, leaving a small loop around the edge. Slide the needle sideways under that loop, right at the edge, and pull snug. The thread now leaves from the edge itself.
- Insert the needle for the next stitch. Move 1/4 in (6 mm) to the right. Push the needle in from the front, 1/4 in (6 mm) from the edge.
- Catch the working thread. As the needle comes out behind the felt, bring it up past the edge and through the loop of working thread, so the thread lies under the needle.
- Pull toward the edge. Draw the thread up until the bar sits on the edge and the leg stands straight. Stop as soon as it touches; pulling harder curls the felt.
- Repeat. Insert, catch the loop, pull. Check every few stitches that the legs are the same length and stand square to the edge.
Joining two layers
The stitch is identical; only the start changes. Pin the two layers with edges matched. Open them slightly and bring the needle out through the front layer from the inside, 1/4 in (6 mm) from the edge, so the knot is trapped between the layers. Wrap the thread over both edges, push the needle through both layers from the back so it comes out of that same front hole, and slide it under the loop at the edge to anchor.
From there, every stitch passes through both layers from front to back and then up through the working loop. The back of the seam shows a matching row of legs, which is why blanket stitch looks finished from either side.
Corners and Curves
Square corners
Plan the spacing so a stitch lands 1/4 in (6 mm) before the corner. Then work three stitches into one shared hole, set 1/4 in (6 mm) in from both sides: one square to the first side, one on the diagonal pointing at the corner tip, and one square to the next side. The three legs fan out like a bird’s foot and the bar turns the corner cleanly.
Outside and inside curves
On an outside curve, such as a circle, the legs fan outward. Keep the holes evenly spaced and let the bars along the edge grow slightly longer. On an inside curve the opposite happens: the bars crowd together, so space the holes a touch wider. In both cases each leg should point toward the center of the curve.
Ending, and Joining a New Thread Invisibly
When the stitching returns to the start, slide the needle under the bar of the very first stitch to link the last stitch to it. On two layers, take the needle down between the layers, make a small knot around a few inner fibers, run the needle 1 in (2.5 cm) between the layers and trim the tail where it exits. On a single layer, weave the tail under three or four legs on the back and trim.
Change thread when about 4 in (10 cm) remains; a shorter tail is hard to knot. Finish a stitch completely, then end the old thread as described above, leaving the last bar in place on the edge. Knot the new thread, hide the knot between the layers or on the back, and bring the needle out at the edge through the top of the last stitch, exactly where the old thread stopped. Continue as before. Because the new thread starts from the same point on the edge, the line of bars stays unbroken.
Fixing Uneven Stitches
- Legs of different lengths. Draw a light guideline 1/4 in (6 mm) from the edge on the back layer, or mark dots with a fabric pen and a ruler.
- Uneven gaps. Cut a narrow card strip, mark it every 1/4 in (6 mm), and hold it along the edge as a gauge. The thumbnail width also works as a quick guide.
- Leaning legs. The needle is entering off-square or the thread is being pulled sideways. Pull each stitch straight out from the edge.
- A scalloped, tight edge. Loosen the tension. Unpick with the eye end of the needle, never with scissors, which can nick the felt.
- The bar slips onto the front. The working thread was not caught under the needle. Undo that stitch and repeat it.
Practice Exercise: A Four-Sided Sampler
Pin the two 4 in (10 cm) squares together. Stitch all four sides in a contrast color, turning each corner with the three-stitch fan and changing to a new thread once on purpose, halfway along a side. On the spare scrap, cut a circle by tracing a small glass and stitch around it as a single layer to feel how the legs fan on a curve. Knots and tension are covered in the guide to hand sewing felt.
Frequently asked questions
How far apart should blanket stitches be on felt?
About 1/4 in (6 mm) apart with a leg of the same length suits most felt projects. On pieces smaller than 3 in (7.5 cm), reduce both to about 3/16 in (5 mm).
How much thread does a blanket stitch use?
It uses noticeably more than a running stitch because the thread travels along the edge and down each leg. Work with lengths of about 18 in (45 cm) and plan to join a new thread on longer edges.
Why does the blanket stitch edge curl?
The thread is being pulled too tight. Each stitch should be drawn up only until the bar rests on the edge and the leg lies flat on the felt.
Can blanket stitch be worked in either direction?
Yes. Right-handed stitchers usually travel left to right and left-handed stitchers right to left. The steps are simply mirrored.