Felt Keychains: A Small Stitched Project Built for Daily Use
Sew a flat or lightly stuffed felt keychain from two small shapes, a ribbon tab and a split ring, using a stitched-through tab and close seams that stand up to pockets and keys.
Project kit
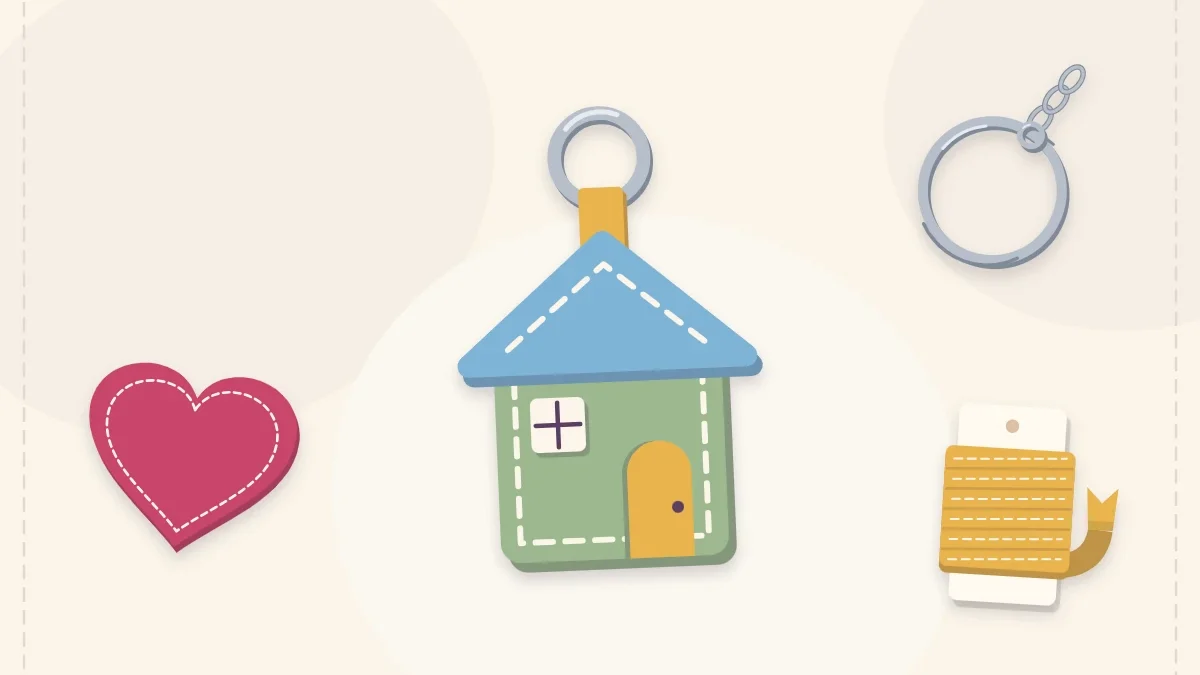
Materials
- Wool-blend felt in 1 or 2 colors
- Ribbon or twill tape, 3/8 in (1 cm) wide, 3 in (8 cm) long
- Split ring, about 1 in (2.5 cm)
- Embroidery floss and embroidery needle
- Sharp scissors and pins or a clip
- Disappearing fabric pen
- Polyester fiberfill (stuffed version)
- Paper, pencil and a jar lid to trace
Felt keychains are about the smallest useful thing you can sew: two matching shapes, a loop of ribbon, a split ring and one line of stitching around the edge. A single keychain uses less felt than the palm of your hand, which makes it a good home for the scraps left over from bigger projects.
The catch is that a keychain lives a harder life than almost any other felt item. It is pushed into pockets, dropped on counters and rubbed against metal keys all day. The method below is built around that reality: dense felt, a tab that is stitched through instead of glued, and a seam made of close, small stitches.
What You Need
- Wool-blend felt in one or two colors; a piece 3 x 6 in (8 x 15 cm) is enough for one keychain
- Ribbon or cotton twill tape, about 3/8 in (1 cm) wide and 3 in (8 cm) long
- A split ring about 1 in (2.5 cm) across
- Embroidery floss and an embroidery needle
- Sharp scissors, two pins or a small clip, and a disappearing fabric pen
- A pinch of polyester fiberfill, for the stuffed version only
- Paper, a pencil and a small jar lid to trace around
Wool-blend felt is denser than acrylic craft felt, so it holds a small shape better and keeps a cleaner edge. Craft felt still works for a first try; expect the surface to turn fuzzy sooner with handling.

Draw and Cut the Shapes
Keep the finished shape between 2 and 2 1/2 in (5 and 6.5 cm) across. Smaller than that is fiddly to stitch, and larger feels bulky next to keys. Three shapes that need no pattern:
- Circle: trace around a jar lid roughly 2 1/4 in (5.5 cm) wide.
- Heart: fold a 2 1/2 in (6.5 cm) paper square in half, draw half a heart against the fold, cut and unfold.
- Rounded square: rule a 2 in (5 cm) square and soften each corner by tracing around a small coin.
Avoid thin points and narrow necks. Any part narrower than 1/2 in (1.3 cm) is hard to fill and is the first place to bend and wear. Cut two pieces of felt for each keychain. If the shape is not symmetrical, flip the paper over before tracing the second piece so the two halves match when they face each other.
How to Make Felt Keychains Step by Step
- Prepare the tab. Slide the ribbon through the split ring and fold it in half so the two cut ends meet and the ring hangs in the fold.
- Decorate the front first. Add any applique shape or embroidery to the front piece now, while it is a single flat layer. The backs of those stitches end up hidden inside.
- Position the tab. Lay the back piece down, place the ribbon ends at the top center so they overlap the felt by 1/2 in (1.3 cm), and set the front piece on top. Pin or clip the stack.
- Anchor the tab. Thread the needle with three strands of floss and hide the knot between the layers. Make four small backstitches straight across the top, about 1/4 in (6 mm) below the edge, passing through both felt layers and both ribbon ends. This short row carries the weight of the keys.
- Stitch around the edge. Work a whip stitch along the felt edge, spacing the stitches about 1/8 in (3 mm) apart and the same distance in from the edge. Stitch through the ribbon again as you pass it.
- Stuff, or leave it flat. For a flat keychain, keep stitching all the way around. For a stuffed one, stop when a 1 in (2.5 cm) gap remains and push in small tufts of fiberfill with the blunt end of a pencil.
- Close and finish. Stitch the gap shut, make a small knot against the seam, then pass the needle between the layers and out about 1 in (2.5 cm) away. Pull gently and trim, so the thread tail slips back inside.
Flat or Stuffed: Which to Choose
| Flat double layer | Lightly stuffed | |
|---|---|---|
| Feel | Slim, slides into a pocket | Soft and easy to find in a bag |
| Best shapes | Anything, including detailed outlines | Simple rounded shapes |
| Seam stress | Low | Higher, so stitches must be close |
| Time | About 20 minutes | About 30 minutes |
If you choose the stuffed version, use far less filling than seems right. A keychain packed tight strains its seam every time it is squeezed; one that is only gently rounded lasts longer. The guide to stuffing small felt projects covers how to fill evenly and close the gap neatly.
Durability Tips
- Never rely on glue for the tab. Glue can hold the ribbon in place while you sew, but the stitches through all layers do the real work.
- Enclose the ribbon ends. Raw ends tucked fully between the felt layers cannot fray into view. Twill tape and grosgrain ribbon fray less than satin.
- Keep the stitches small. Long stitches catch on keys and zipper pulls. Short, close ones lie flat against the felt.
- Choose flat decoration. Stitched details and small applique shapes survive pocket wear. Beads and buttons snag and can work loose.
- Pick forgiving colors. Mid-tones and darker shades show less wear than cream or pale yellow.
To freshen a keychain, lift lint with a piece of tape and spot clean with a barely damp cloth, then let it dry flat.
Watch out
Split rings and any added buttons or beads are small parts and a choking hazard. A felt keychain is not a toy and should be kept away from children under 3.
Variations to Try
Two-color front. Cut the front piece in one color and add a smaller shape on top in another, such as a star on a circle or a leaf on a rounded square. Stitch it down before assembling.
Strip fob. Skip the ribbon altogether. Cut a felt strip 1 x 5 in (2.5 x 13 cm), thread it through the ring, fold it in half and stitch around all three open sides, with a row of backstitches just under the ring.
Bag charm. Use a 5 in (13 cm) ribbon so the shape hangs lower and swings from a zipper pull or backpack loop.
A matching set. Cut several keychains from the same two colors in different shapes. They are quick enough to make in an evening, and they sit well alongside the other small handmade felt gifts that can be finished ahead of time.
Frequently asked questions
What kind of felt is best for keychains?
Wool-blend felt is a good choice because it is denser than acrylic craft felt and keeps a cleaner edge when handled often. Craft felt works for practice but tends to turn fuzzy sooner.
Can the ribbon tab be glued instead of sewn?
Glue alone is not reliable for a part that carries the weight of keys. Use a dab of glue only to hold the ribbon in position, then stitch through both felt layers and both ribbon ends.
How much stuffing does a felt keychain need?
Very little. Fill it until it is gently rounded and still easy to squeeze flat, because a tightly packed keychain puts constant strain on the seam.
How do you clean a felt keychain?
Lift lint with a piece of tape and spot clean with a barely damp cloth, then let it dry flat. Avoid soaking it or putting it in a washing machine.